| Tags: apple repair retrotech | Dec 28, 2017 |
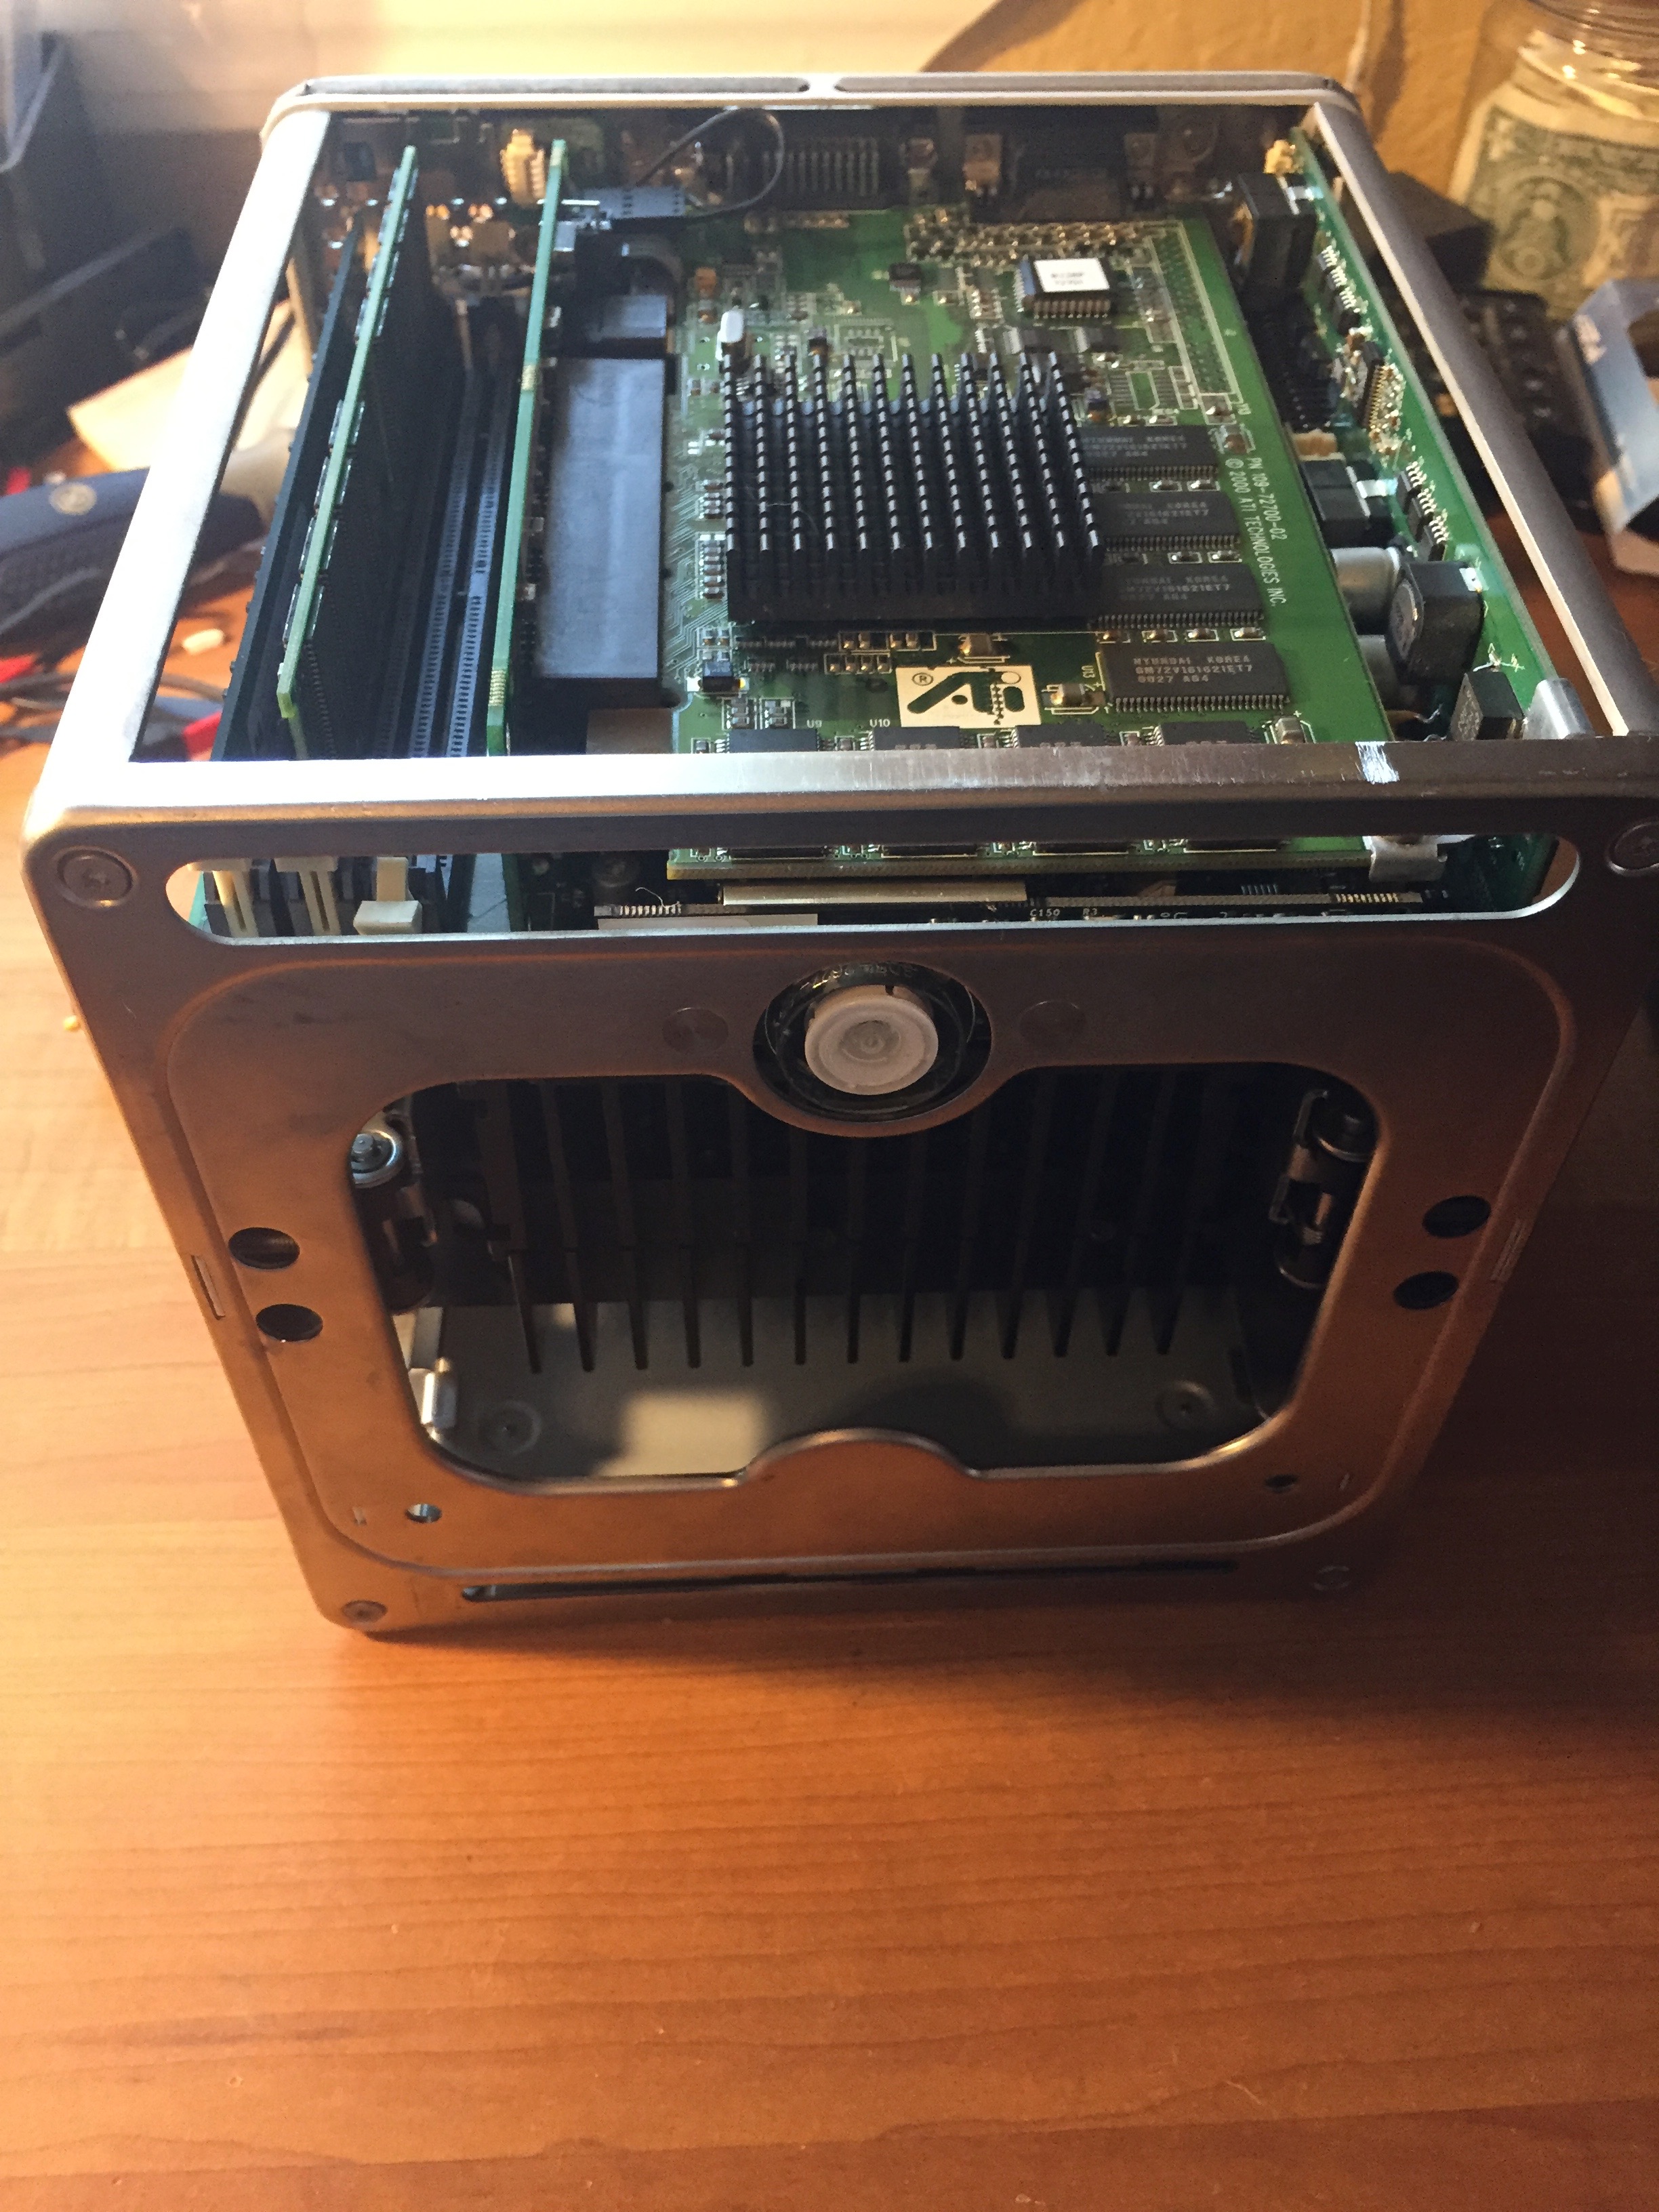
The Optical drive in a G4 cube I was messing with was malfunctioning, and wouldn’t fully eject any disks. Since the computer wont take standard slot-loading disk drives (the connector is upside down) and is somewhat bigger, I would need to buy something off ebay if I wanted to replace the part. Instead, I opted to attempt a repair of the drive myself.
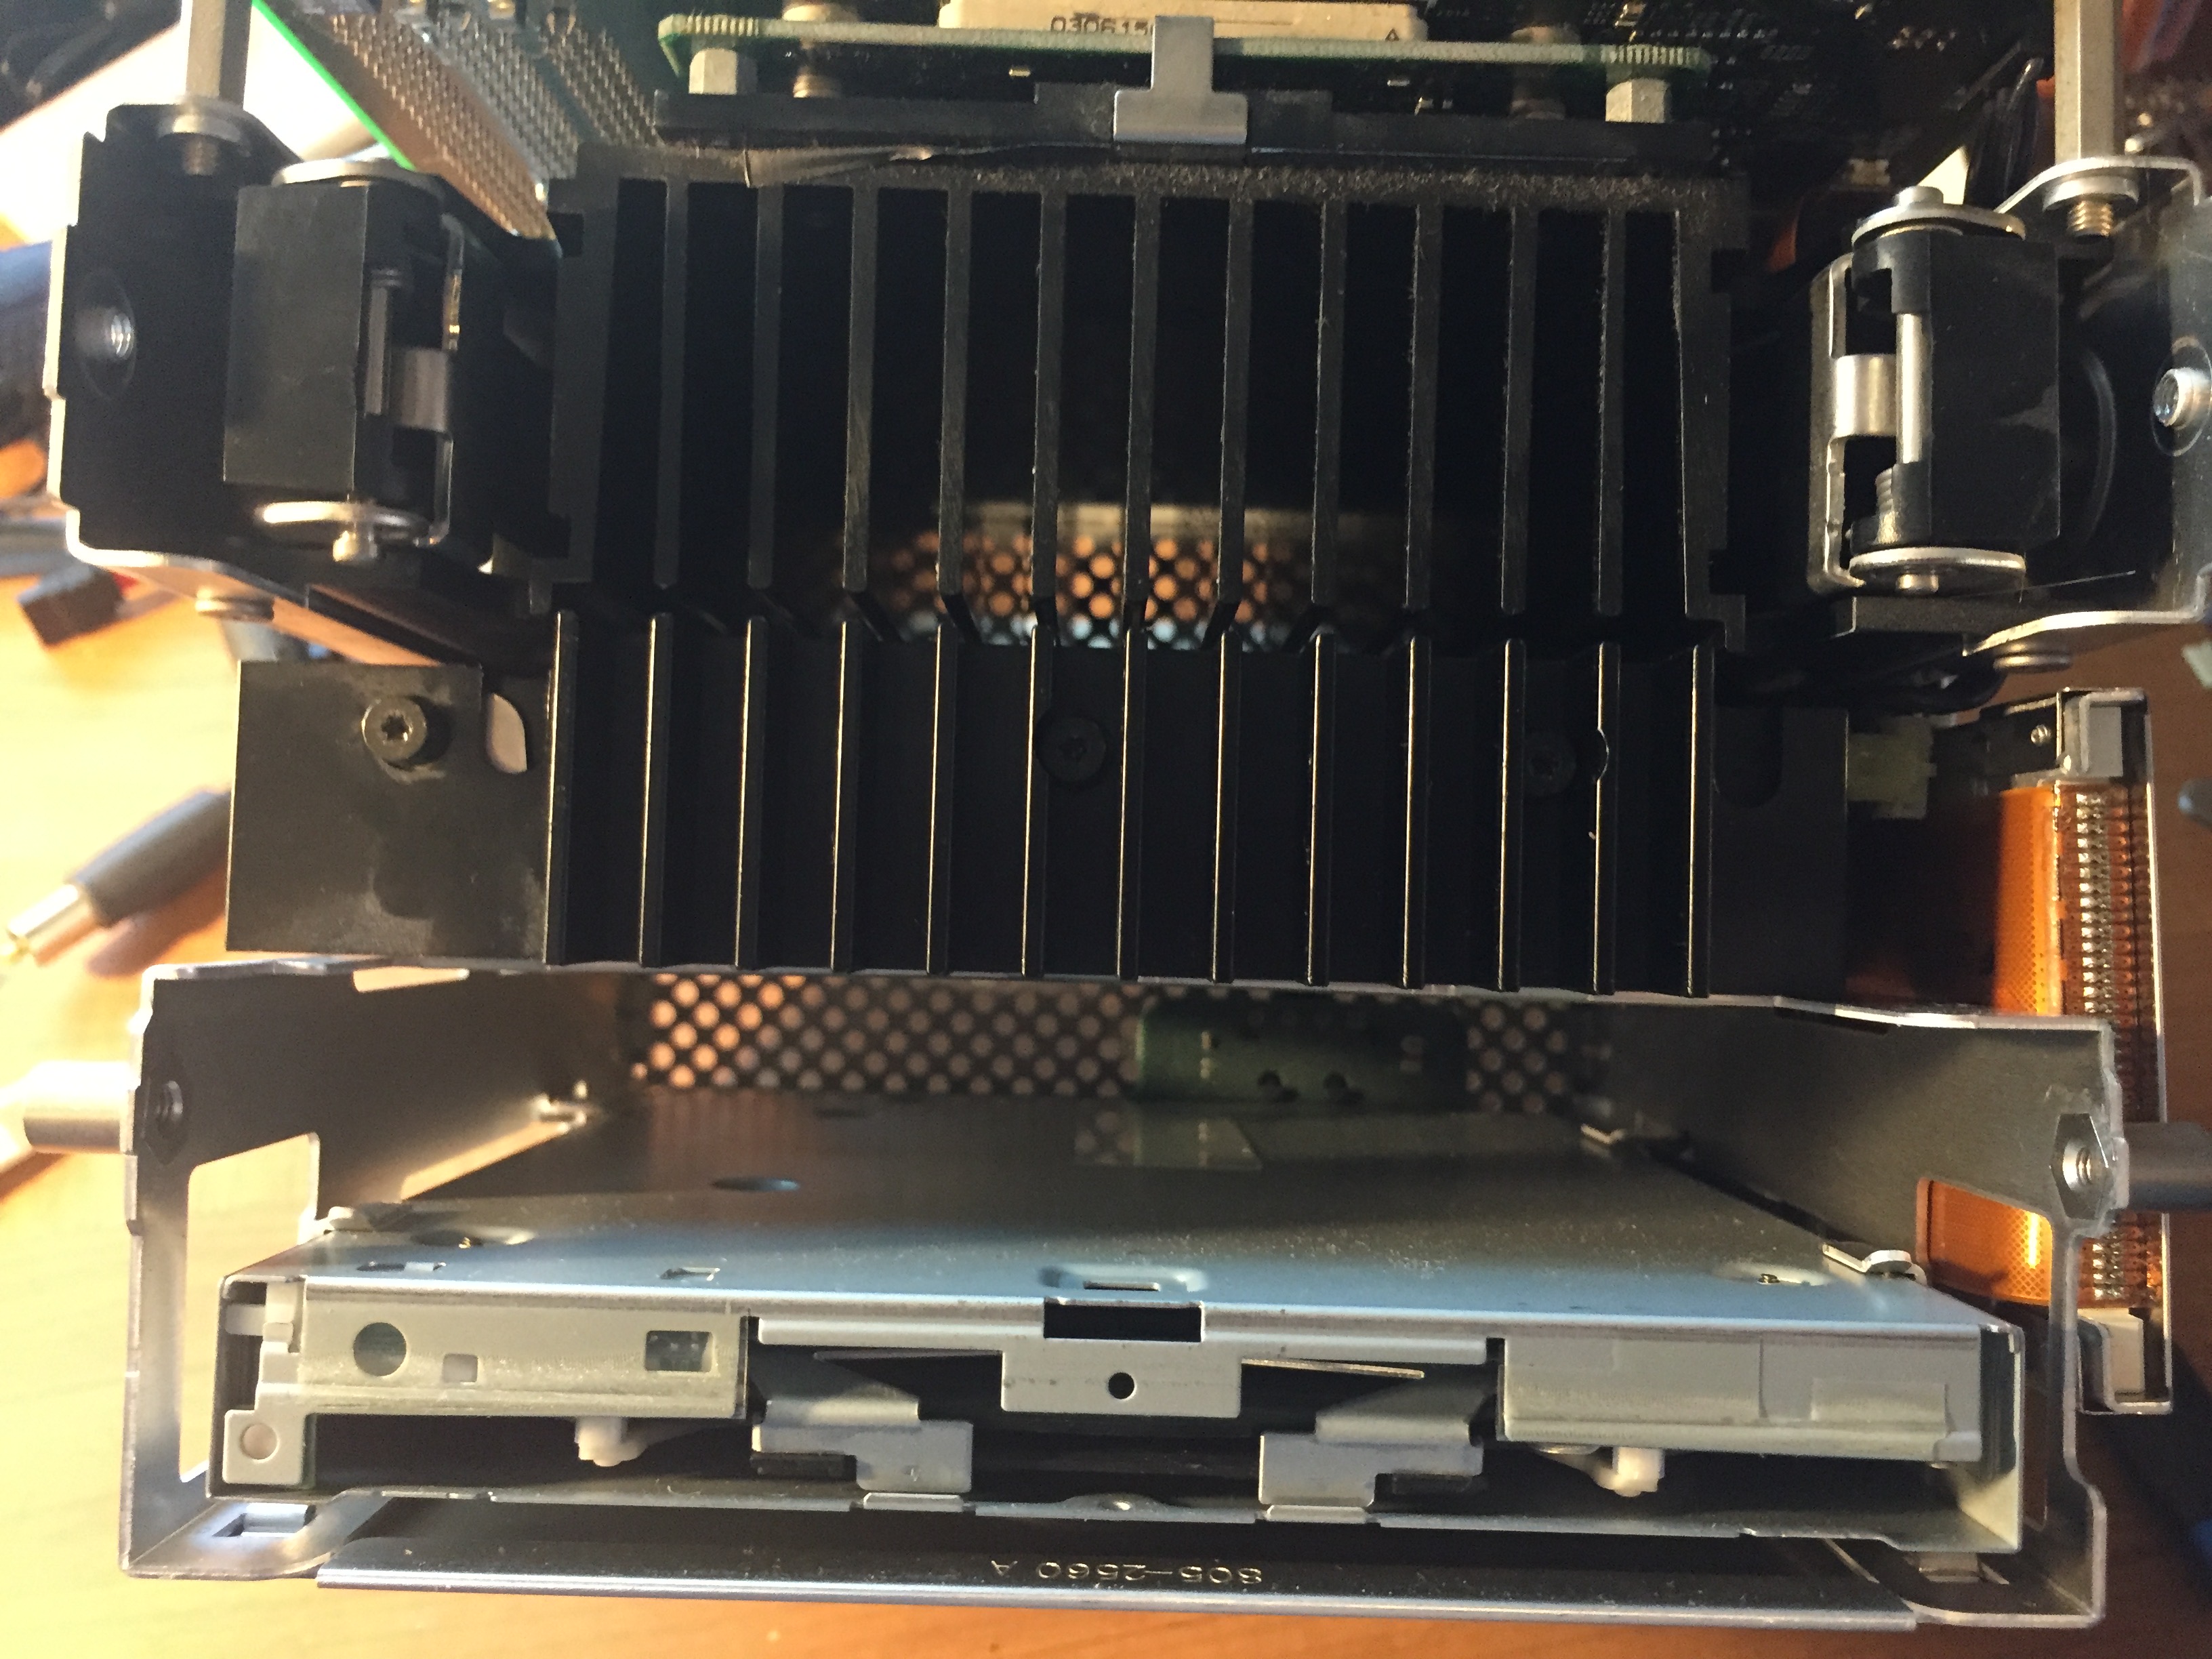
Opening the cube is fairly easy at first, a handle on the bottom pops out and lets you slide the entire internal assembly out. after that you need to unscrew 8 torx screws to take off the top plate and the four pillars around the outside. sliding off a side panel and removing 4 more screws lets you take out the optical drive. The drive is mounted to an adapter board that converts the slim ATAPI connector of the drive to full size IDE. removing the IDE and power cable isn’t necessary, since the drive will easily come out of the slim ATAPI connector, leaving the adapter in the chassis.
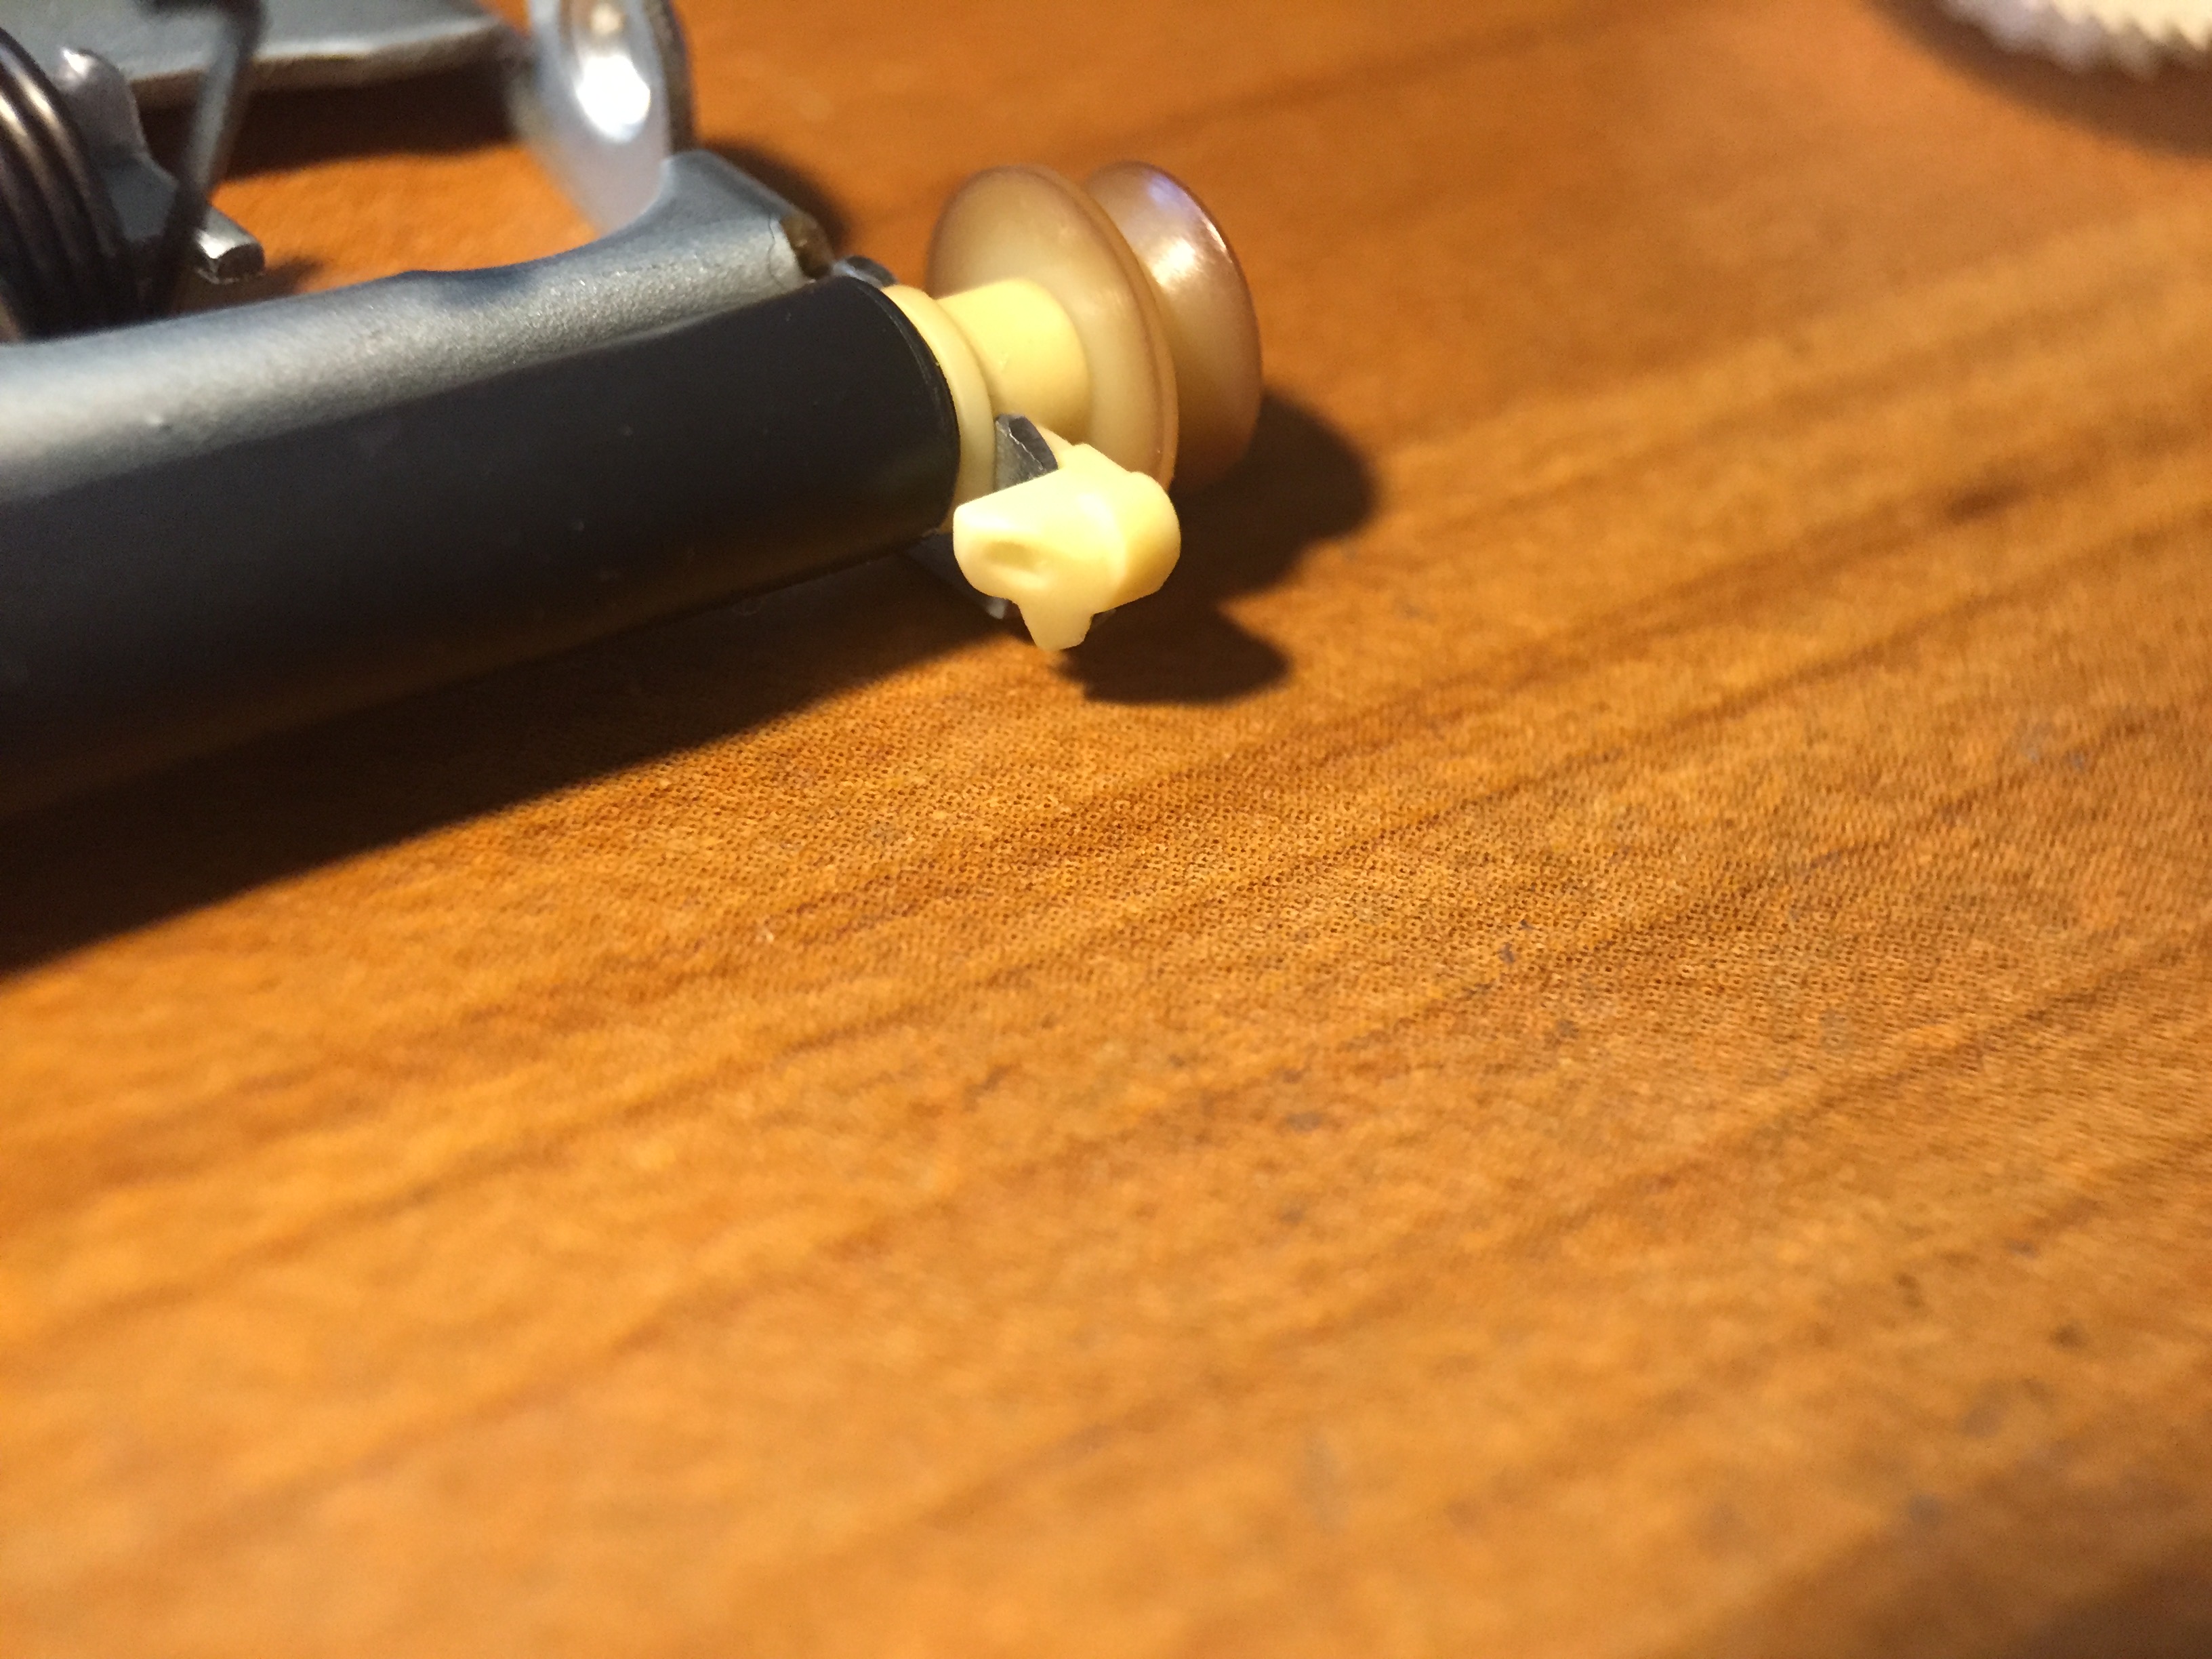
I was pretty quickly diagnose the problem: the rubber rollers that suck the disk in and out of the machine were no longer adhered to the axle they rode on, and just spin freely. From looking at forums, the drive slowly failing to eject the disk without help seems to be a common problem with the drive in the G4 Cube, which was fairly early for using a slot-loading drive.
Since this drive is so old and replacement parts are so hard to come by, I wanted to do a quick teardown of the mechanism inside. I’ve never taken apart a slot-loading drive before either, so it was interesting to see how the mechanisms inside work.
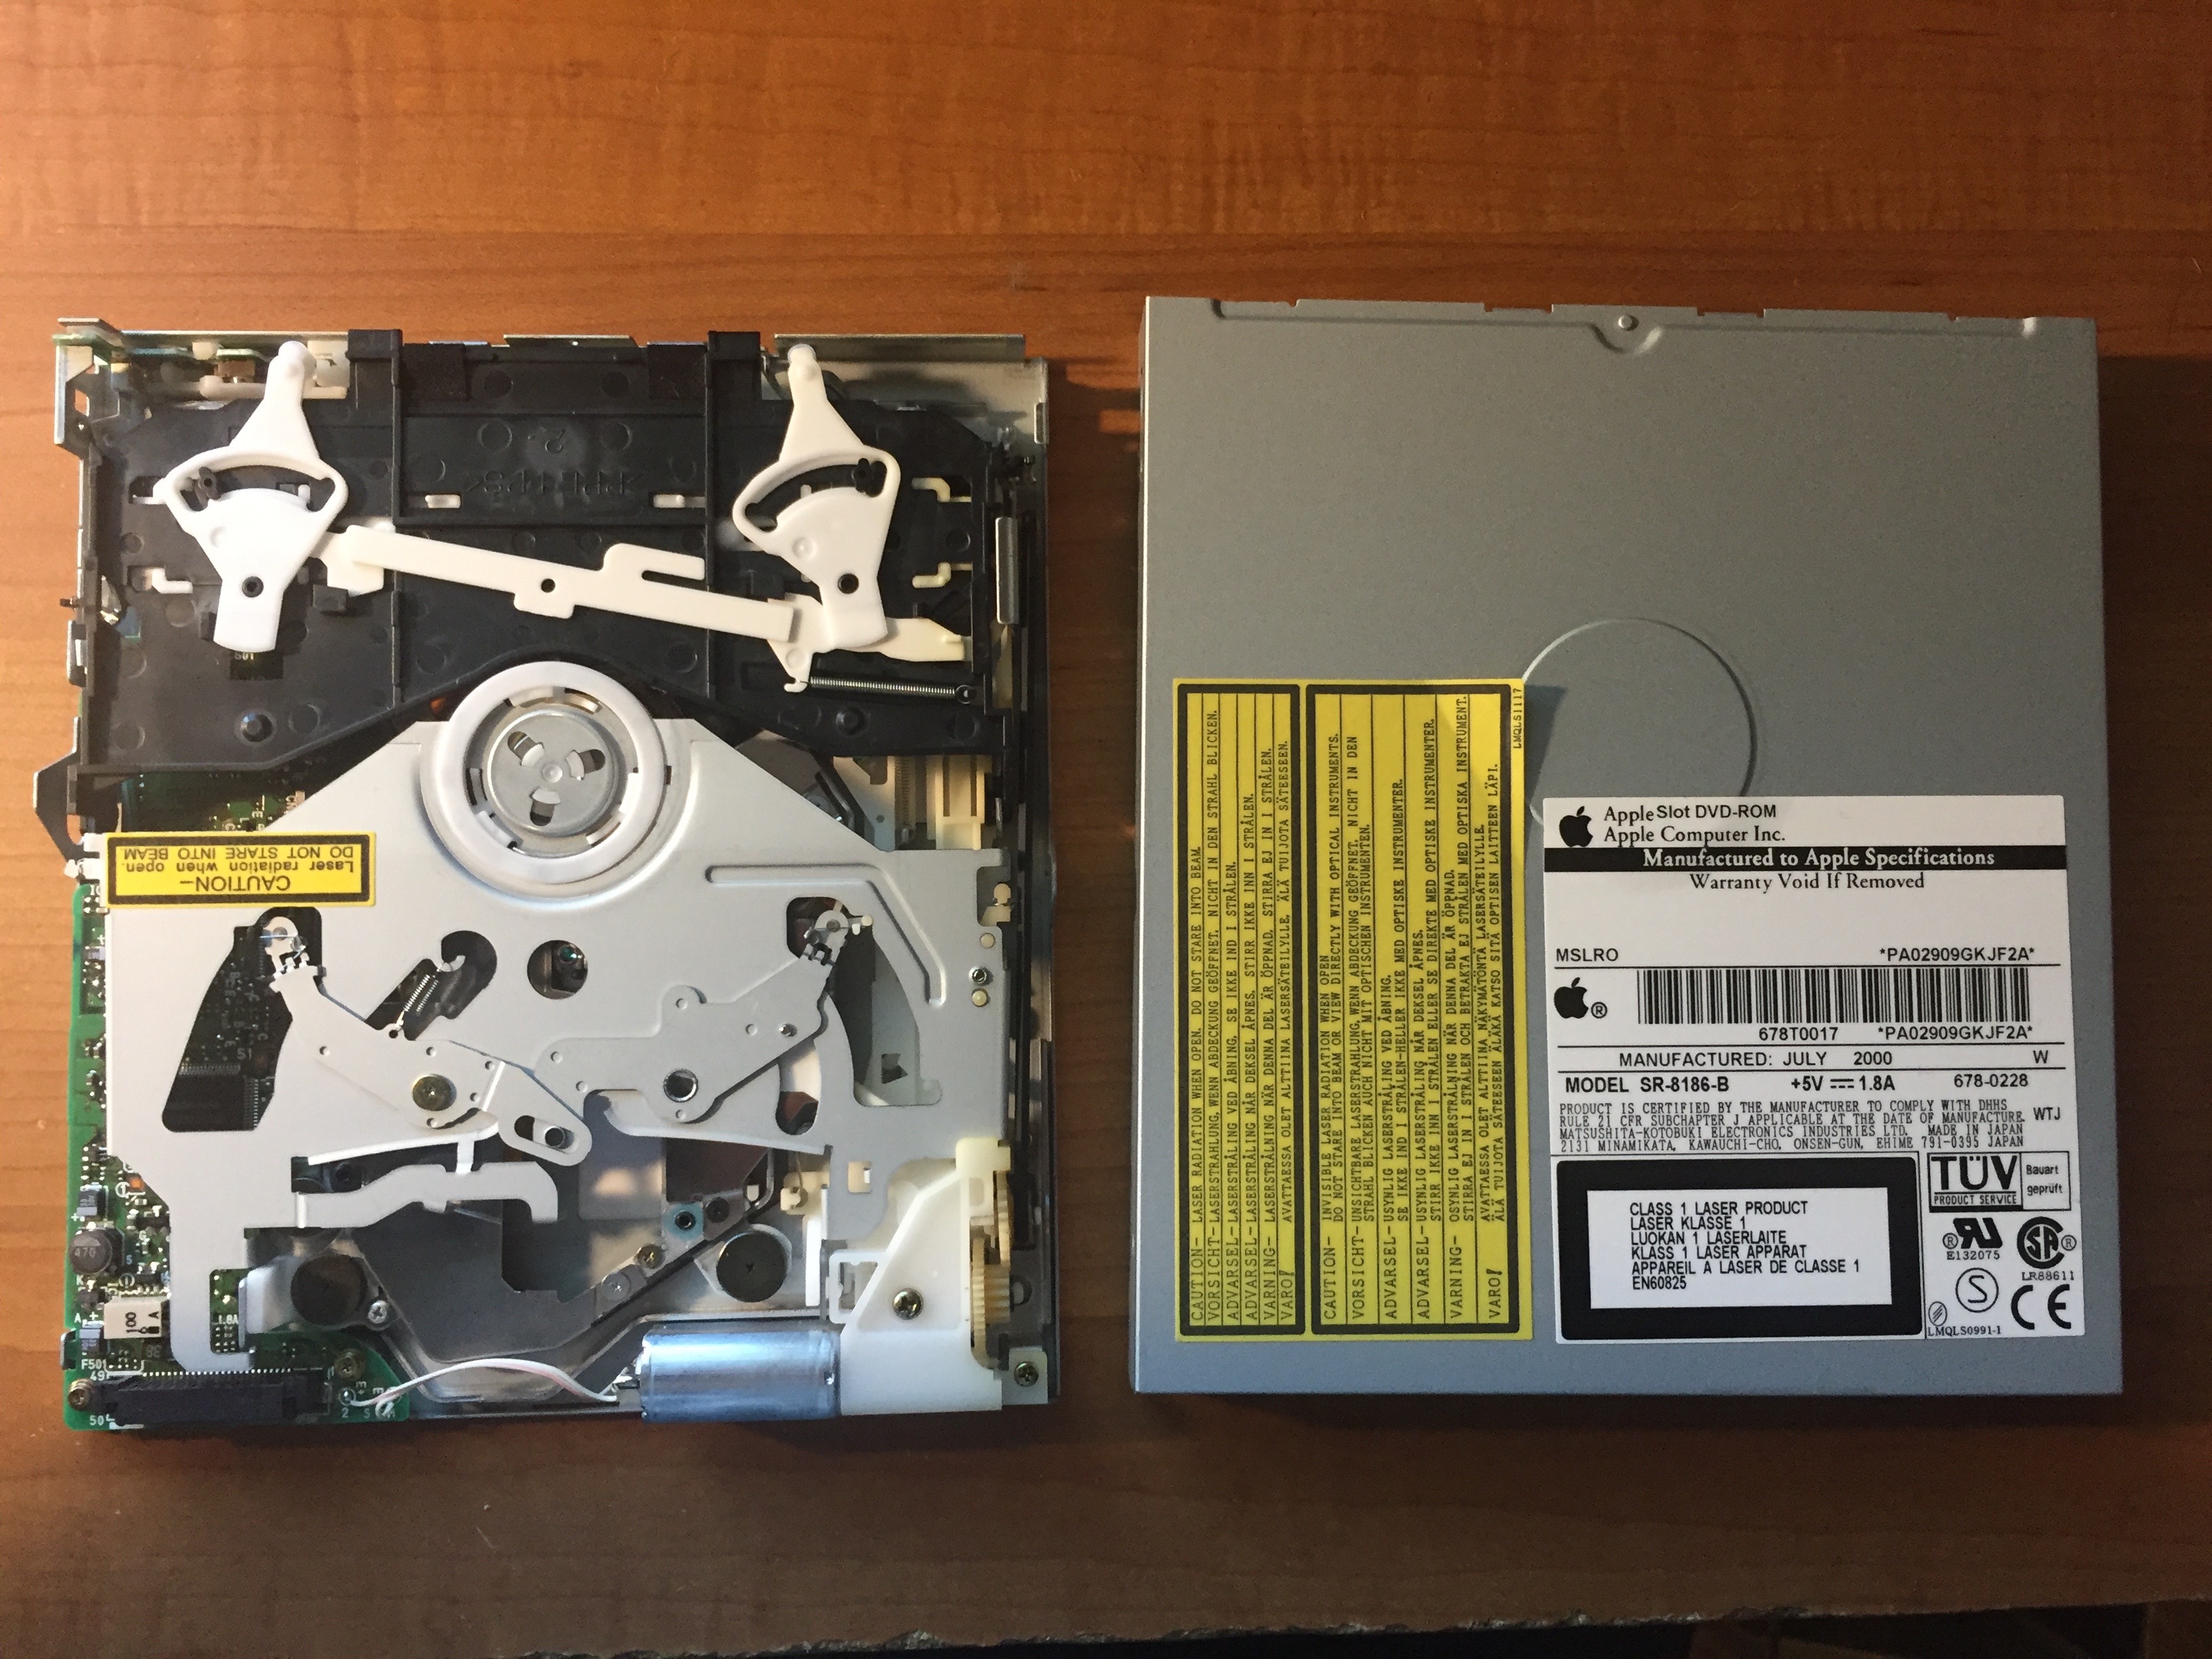
After removing four screws on the outer case (two on the side and two on the back. Be careful: the ones on the side are JIS, not Phillips! I almost stripped one of them) the cover slides up and off the unit.

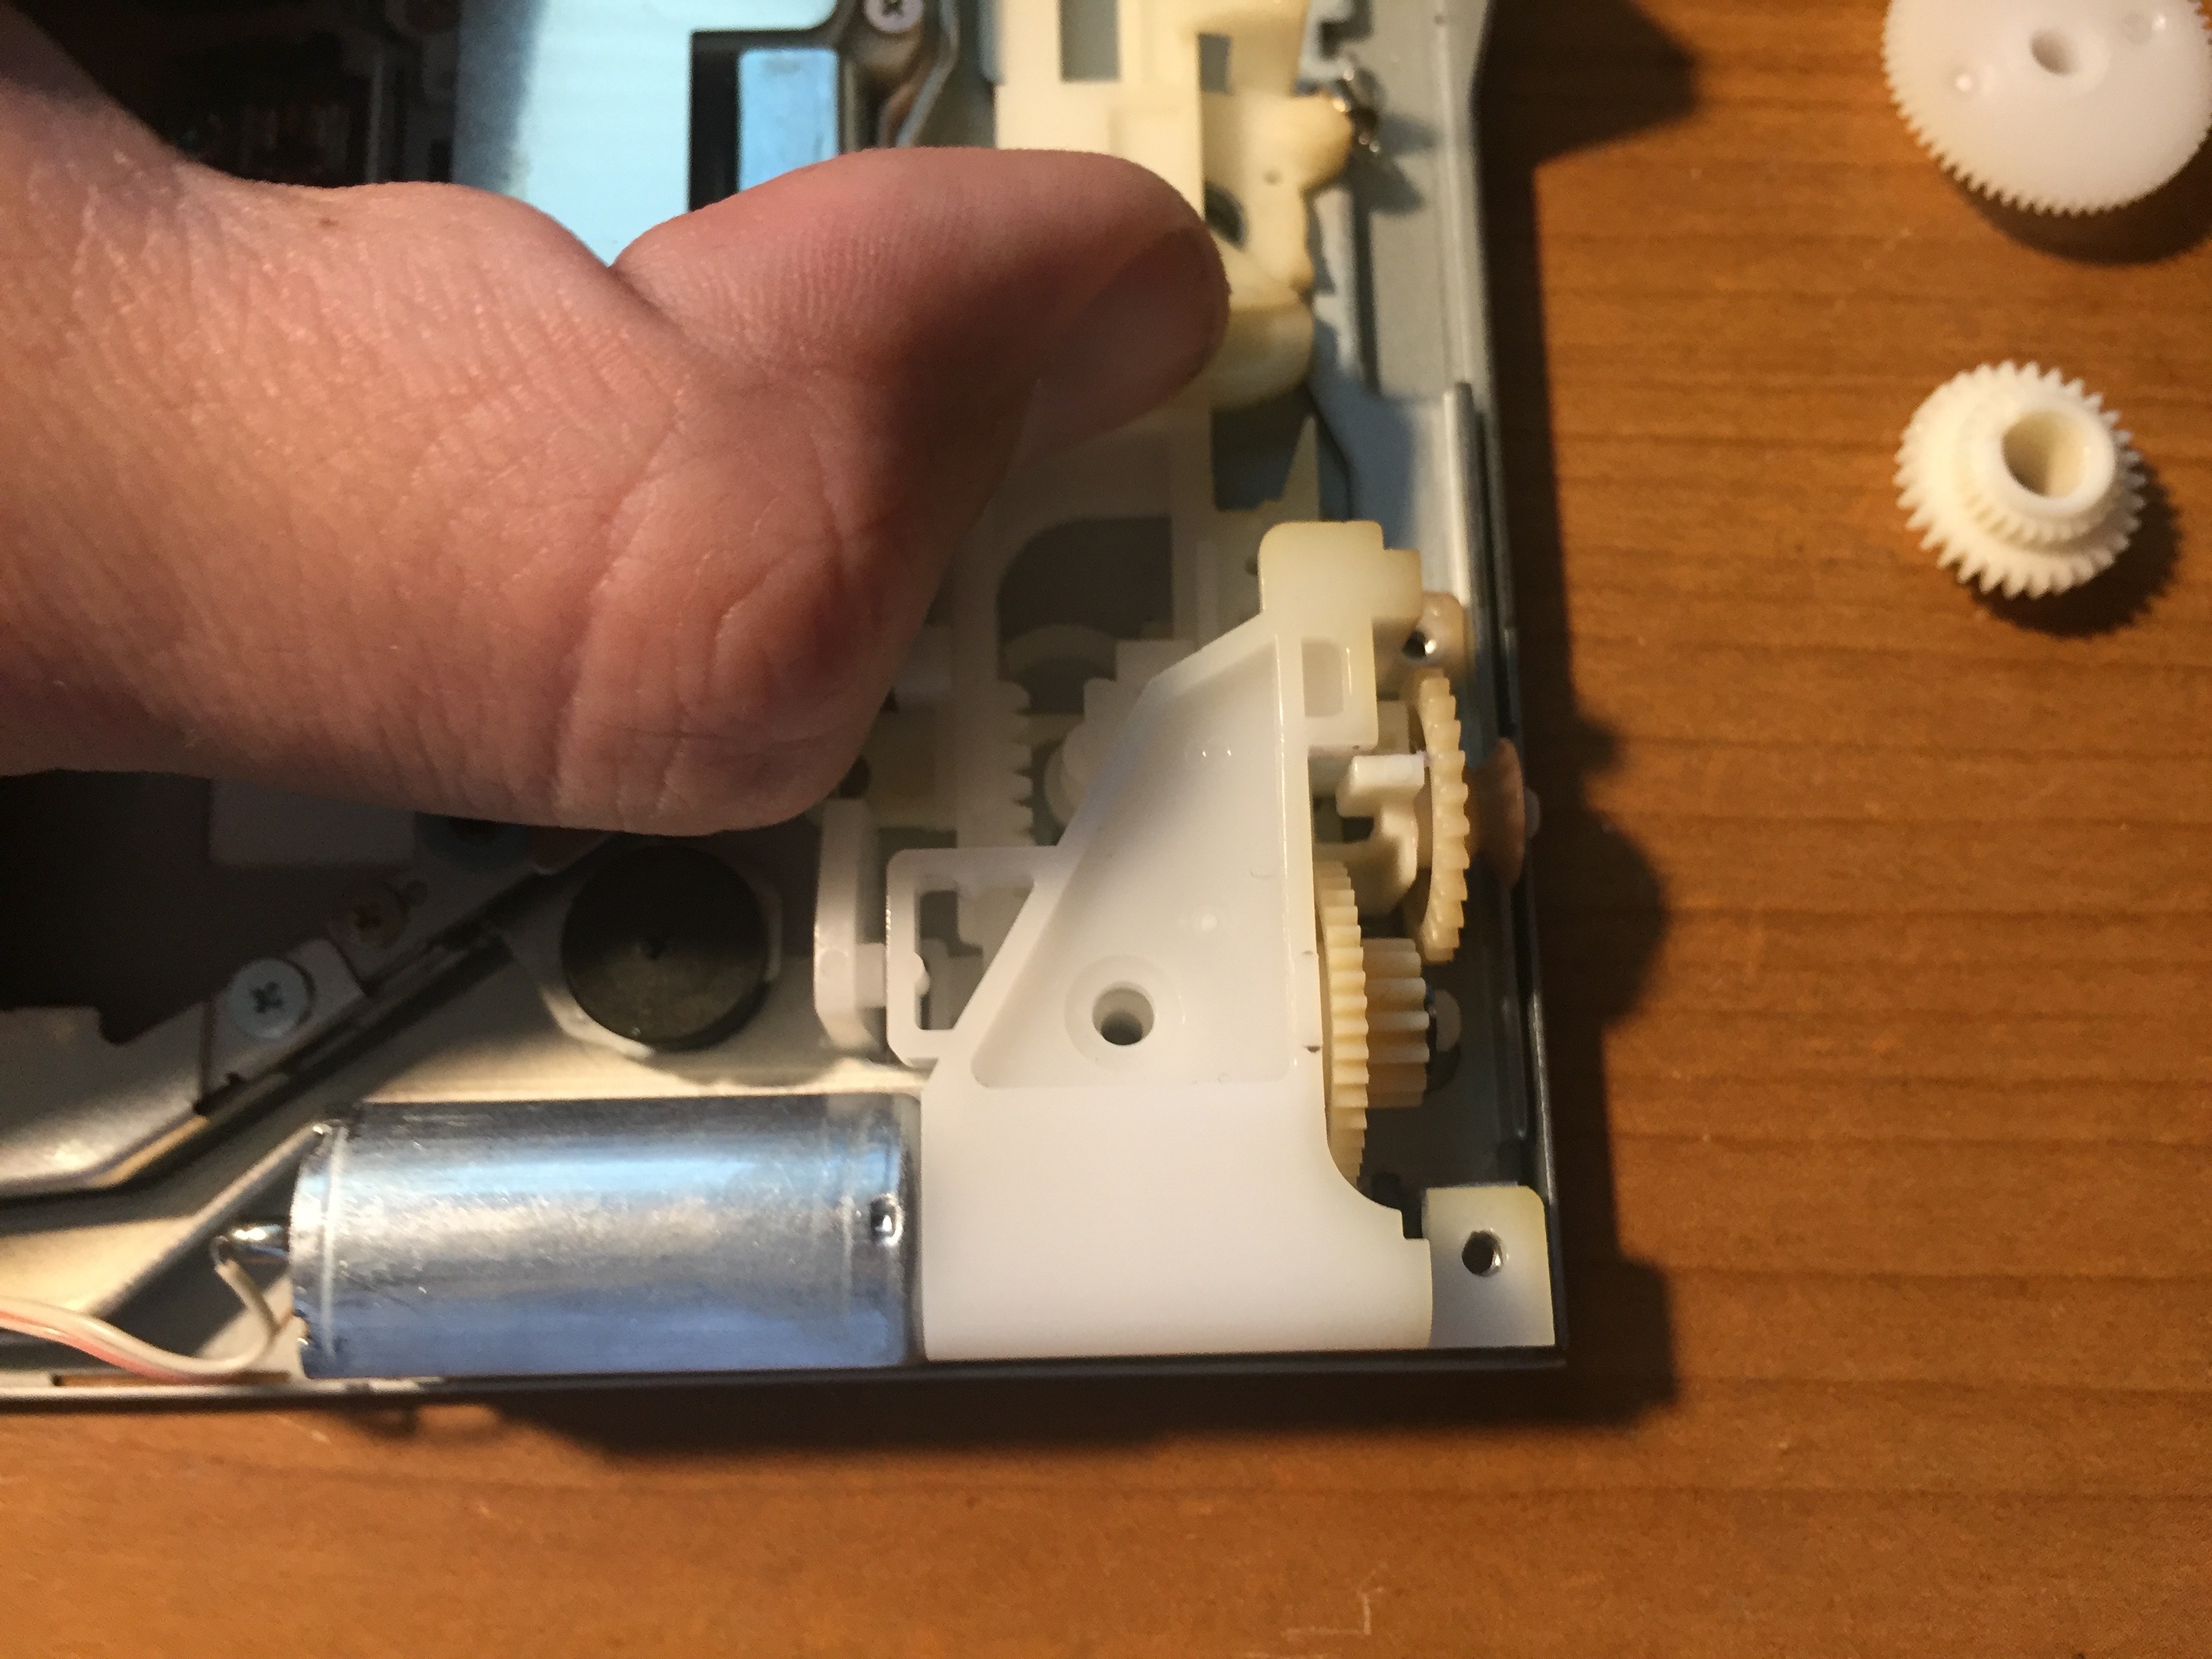
A rubber belt along the side operates the rubber rollers mentioned before. I imagine this belt is also a common failure point in these devices, but mine was fine, if deformed by being in storage for several years. The gearing assembly that operates the eject and insertion mechanism is interesting. When the disk is done being pulled in, the gear operating the pull gets disengaged from the motor. At the same time, an arm pulls the roller assembly away from the disk, and also moves a piece of metal in front of the slot to prevent another disk from being inserted. This one small gear assembly moves a remarkable number of parts of the drive, allowing the entire thing to operate with just three motors: the spindle, the head, and the eject/insertion motor. The motor and gears can be removed by undoing three unique screws on the plastic mounting bracket
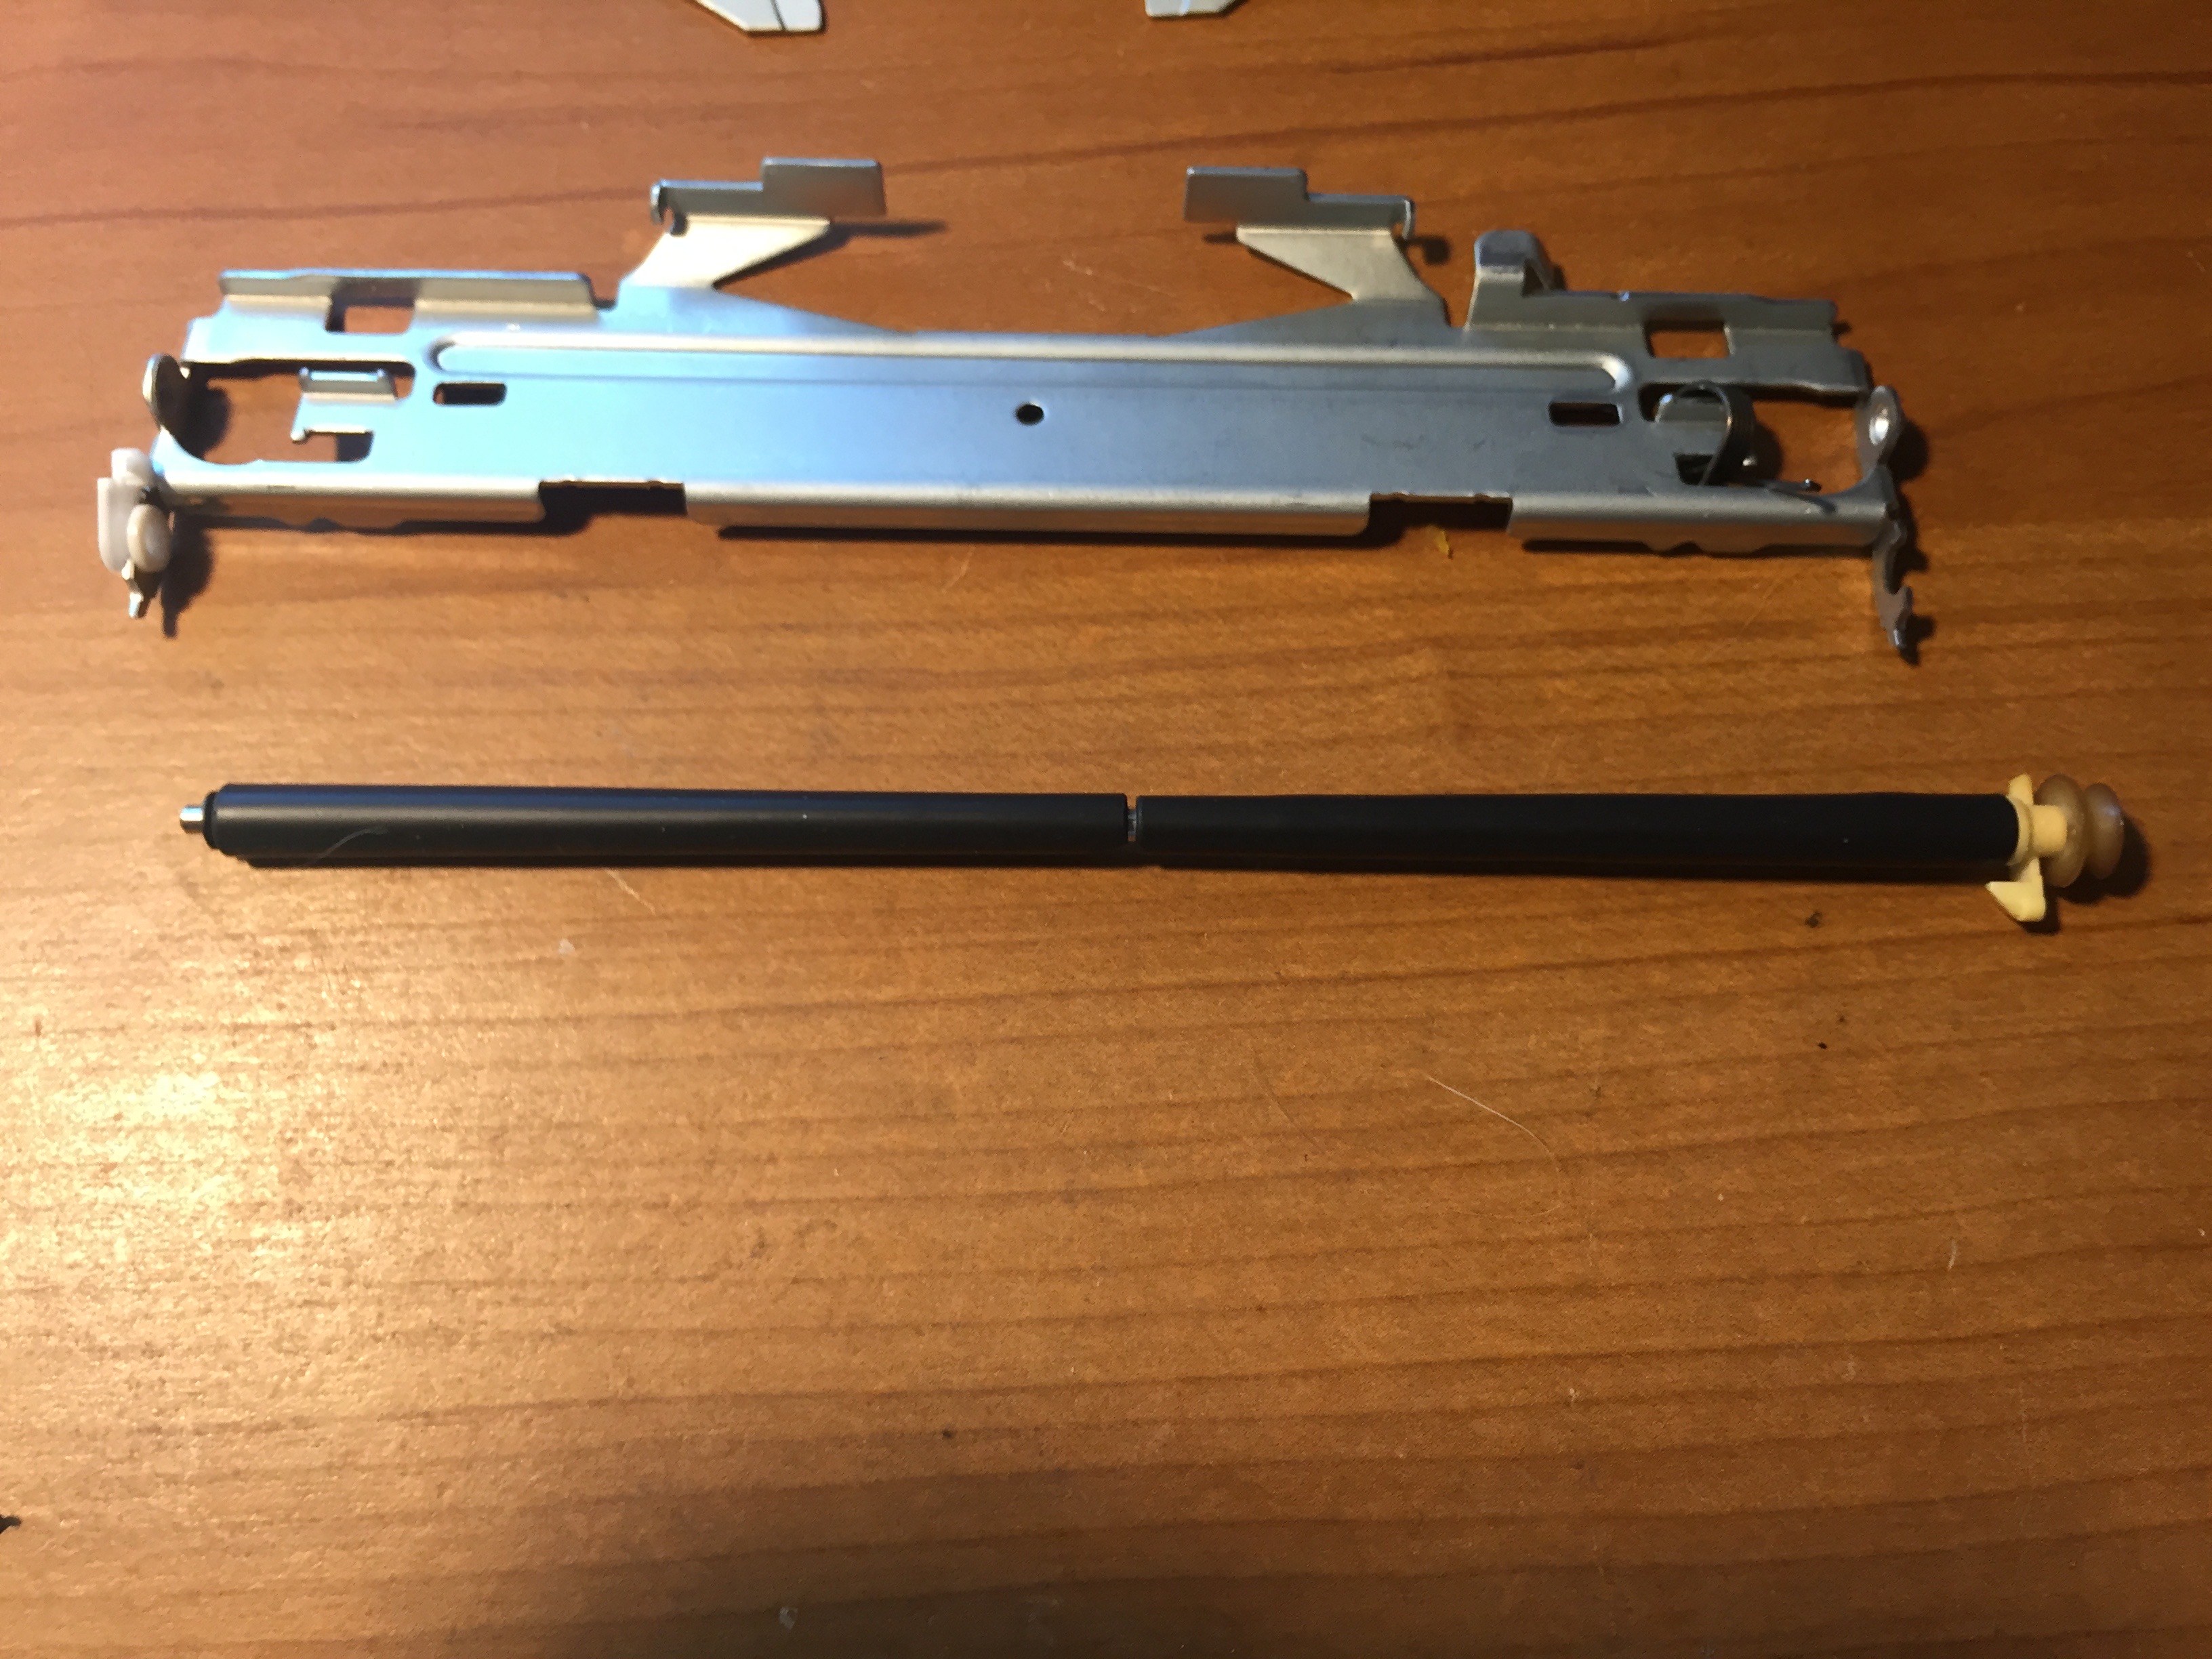
The front cover assembly which also helps pull the disk in the rest of the way can be removed by unhooking the two springs on either side, and then lifting it up and out. The spindle assembly can be removed the same way.
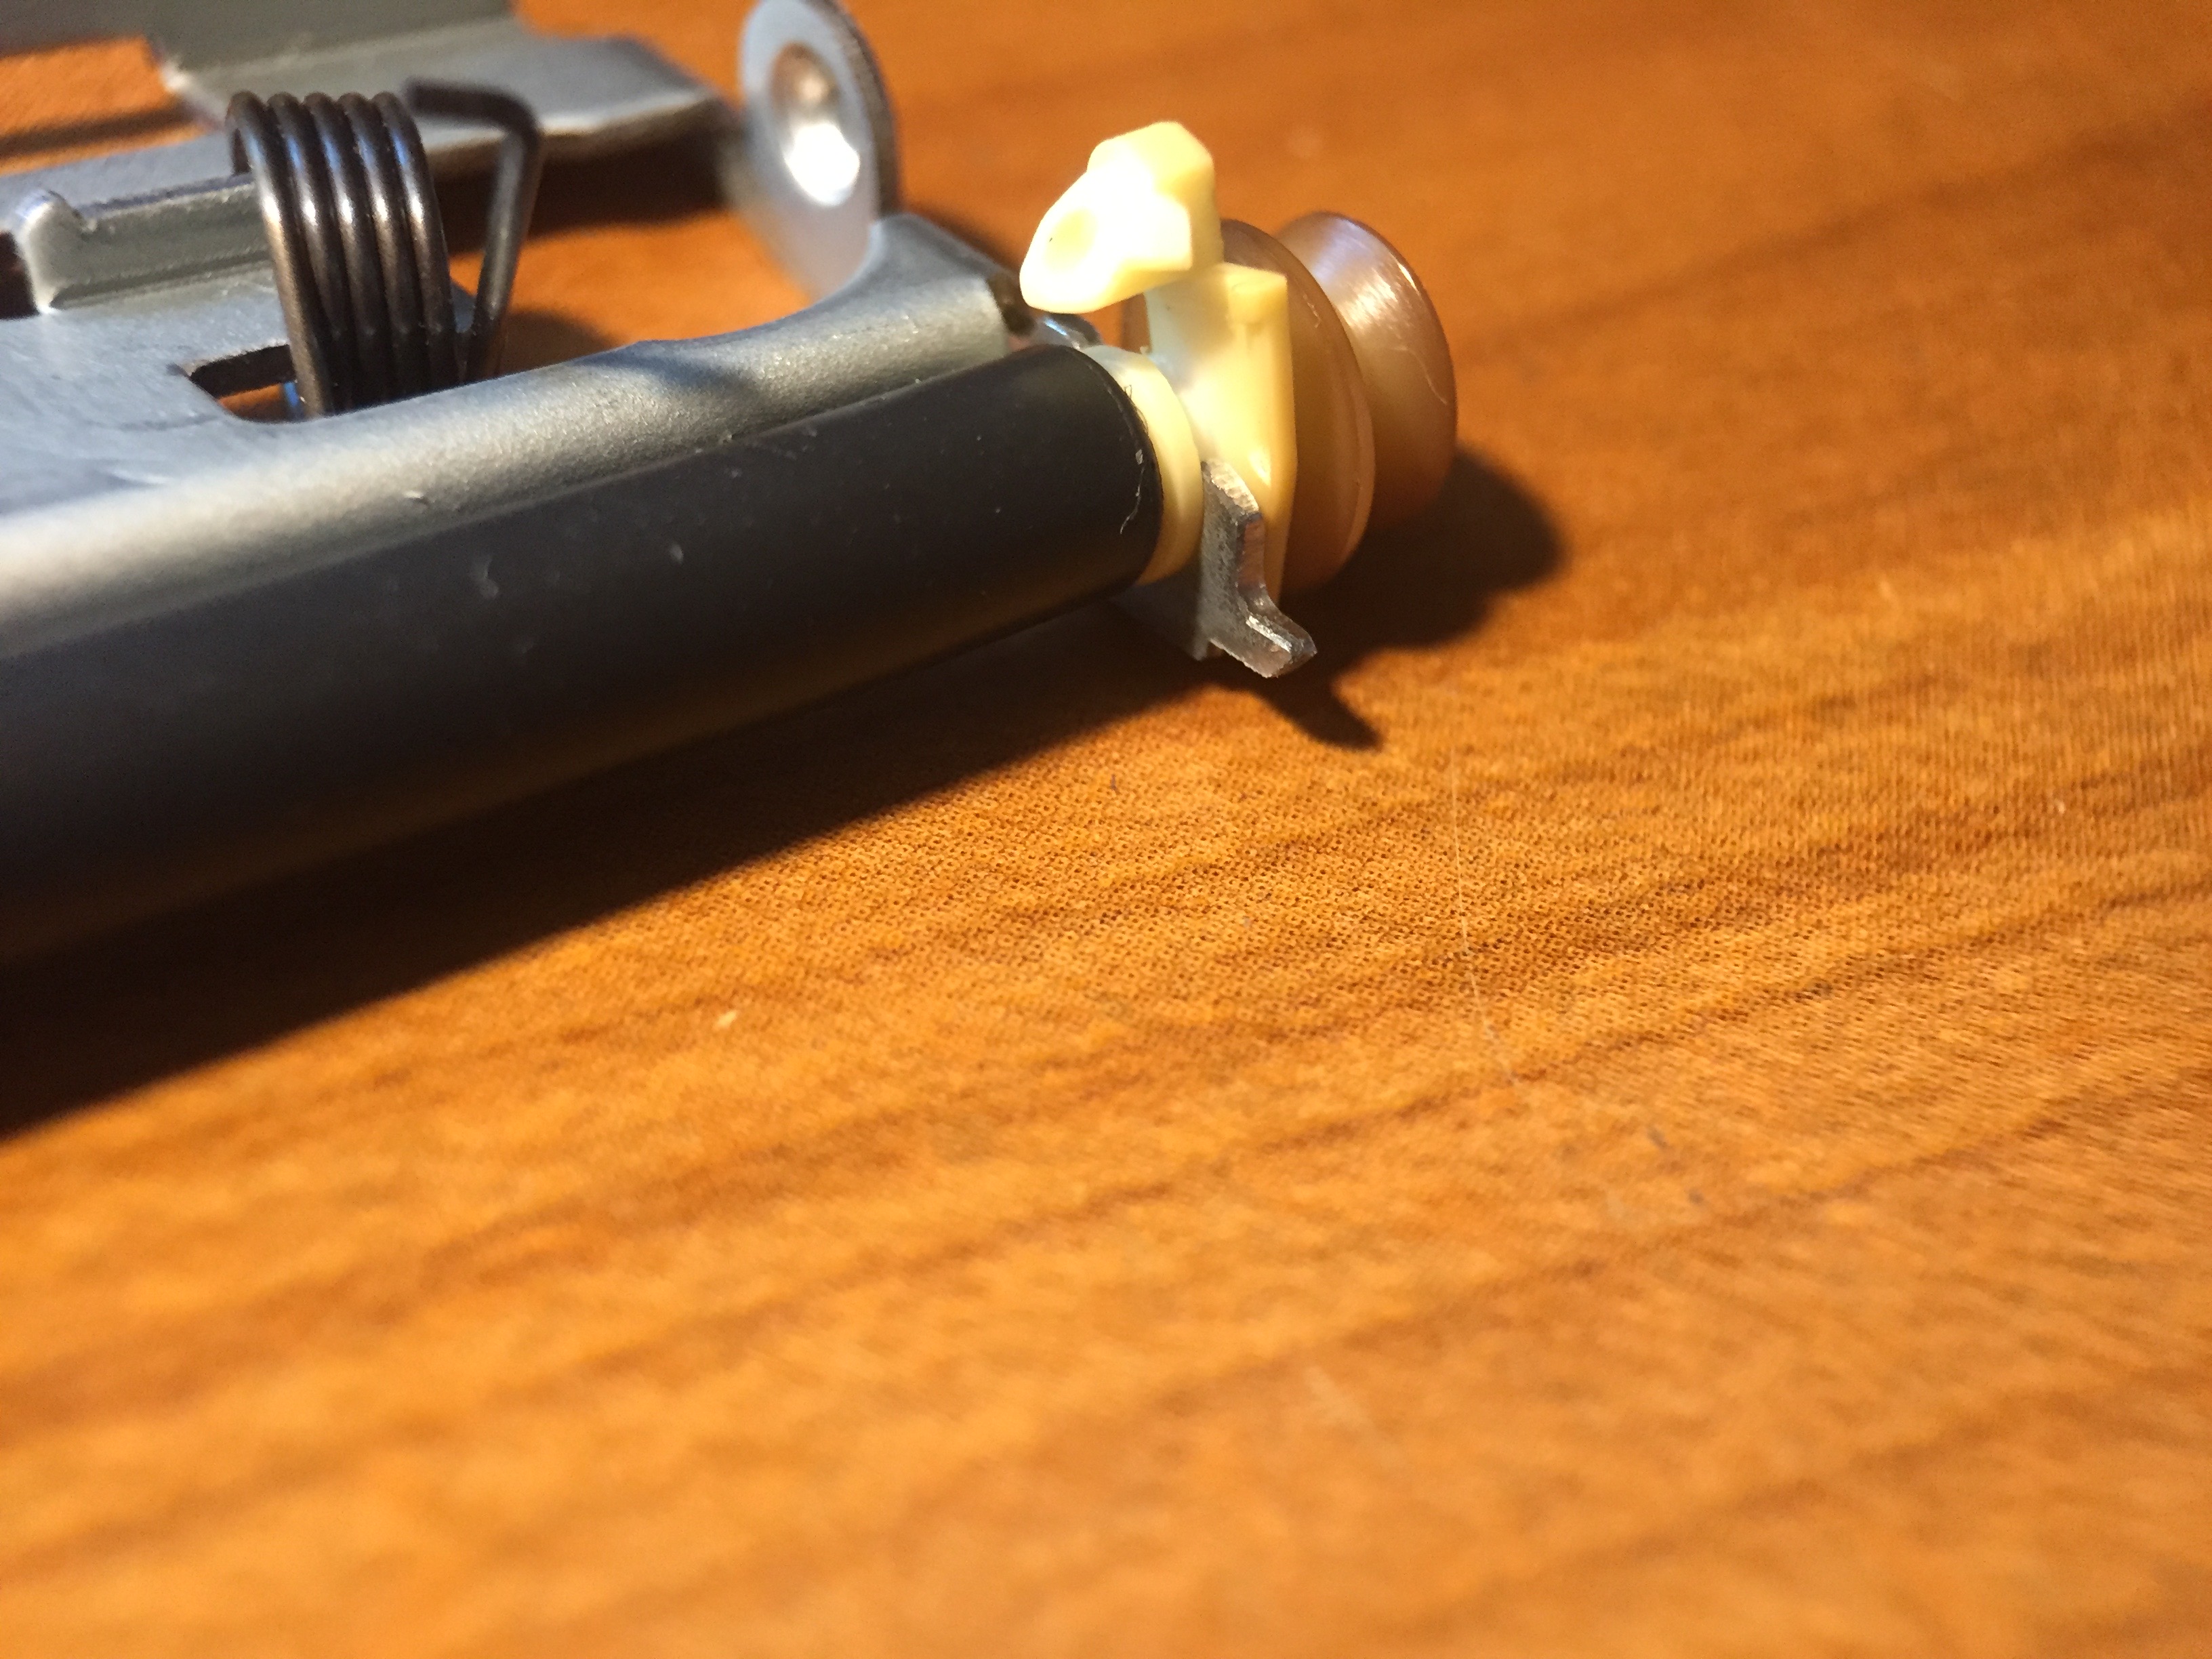
To fix the roller carrier, you first have to remove it by undoing its two springs. these hook onto stationary posts in the case, then loop under the roller carrier. The plastic bracket on the side can be unclipped to remove the whole axle.
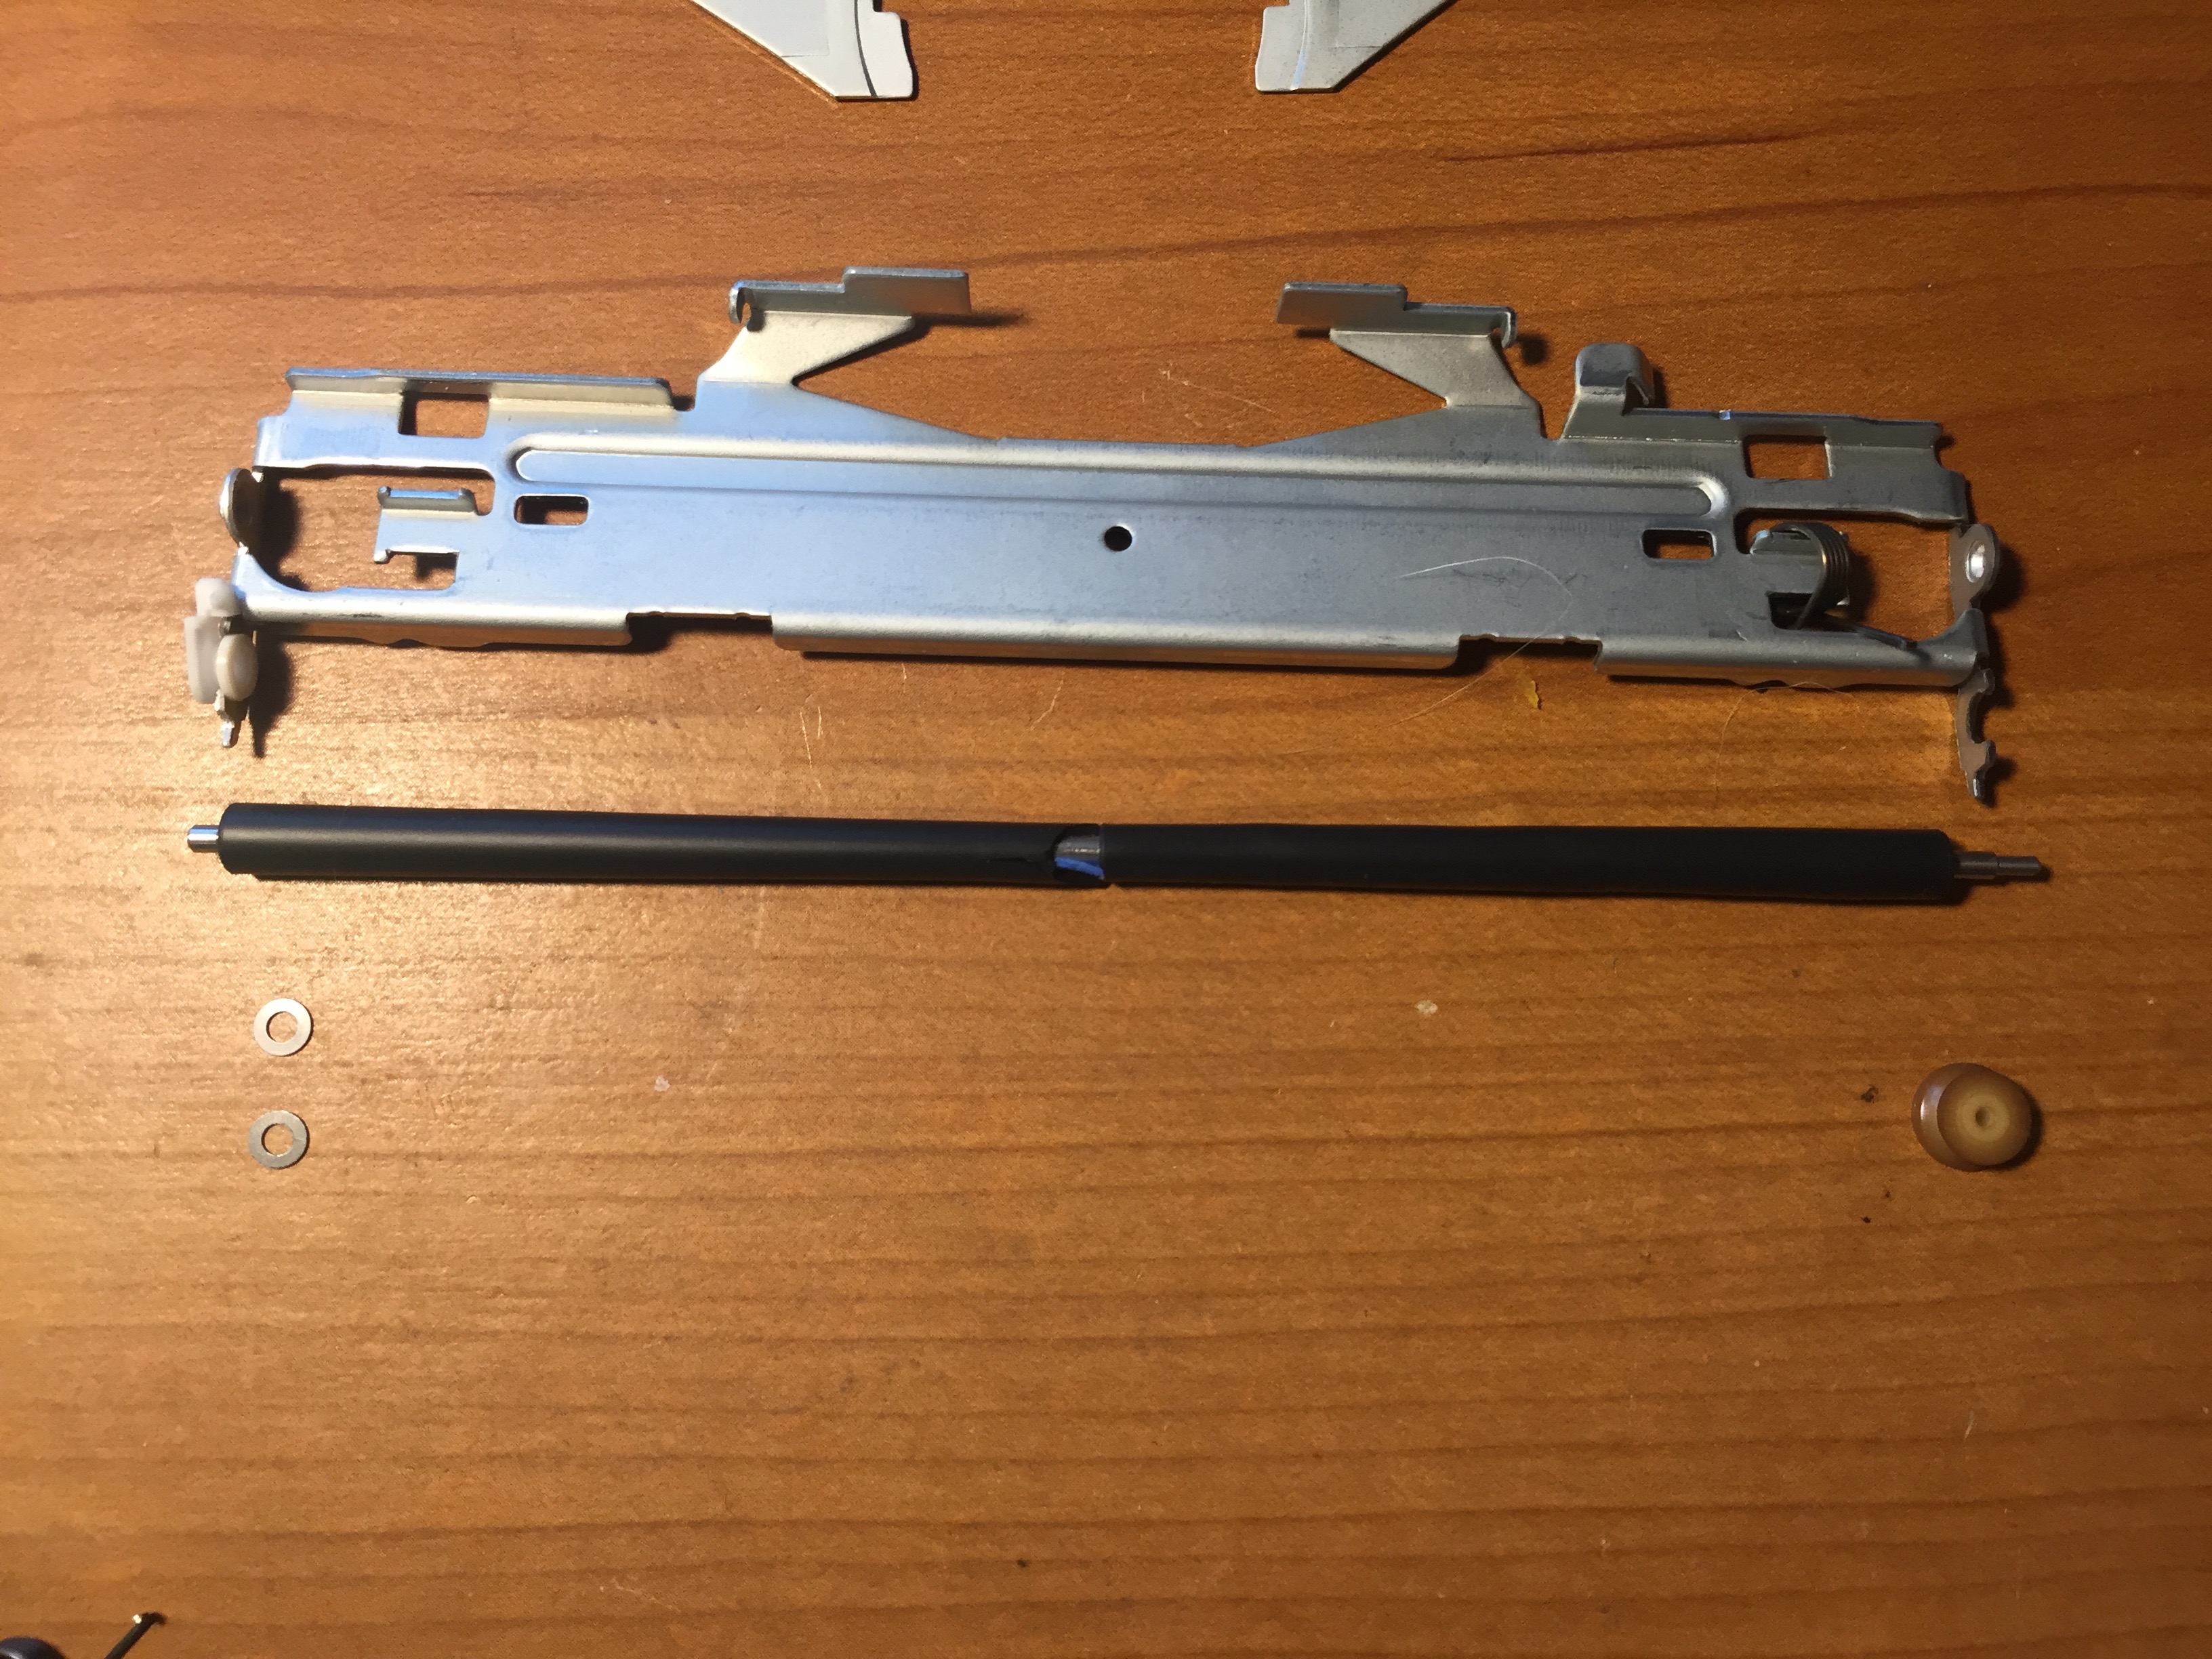
My solution for the slipping rollers was to cut off a strip of blue masking tape a few millimeters wide to act as a shim for the rollers. I damaged the rubber a bit in a previous attempt with scotch tape, but it still works fine. You can see some of the blue tape peeking out in the section I damaged.