| Tags: apple bluetooth electronics retrotech | Nov 13, 2017 |

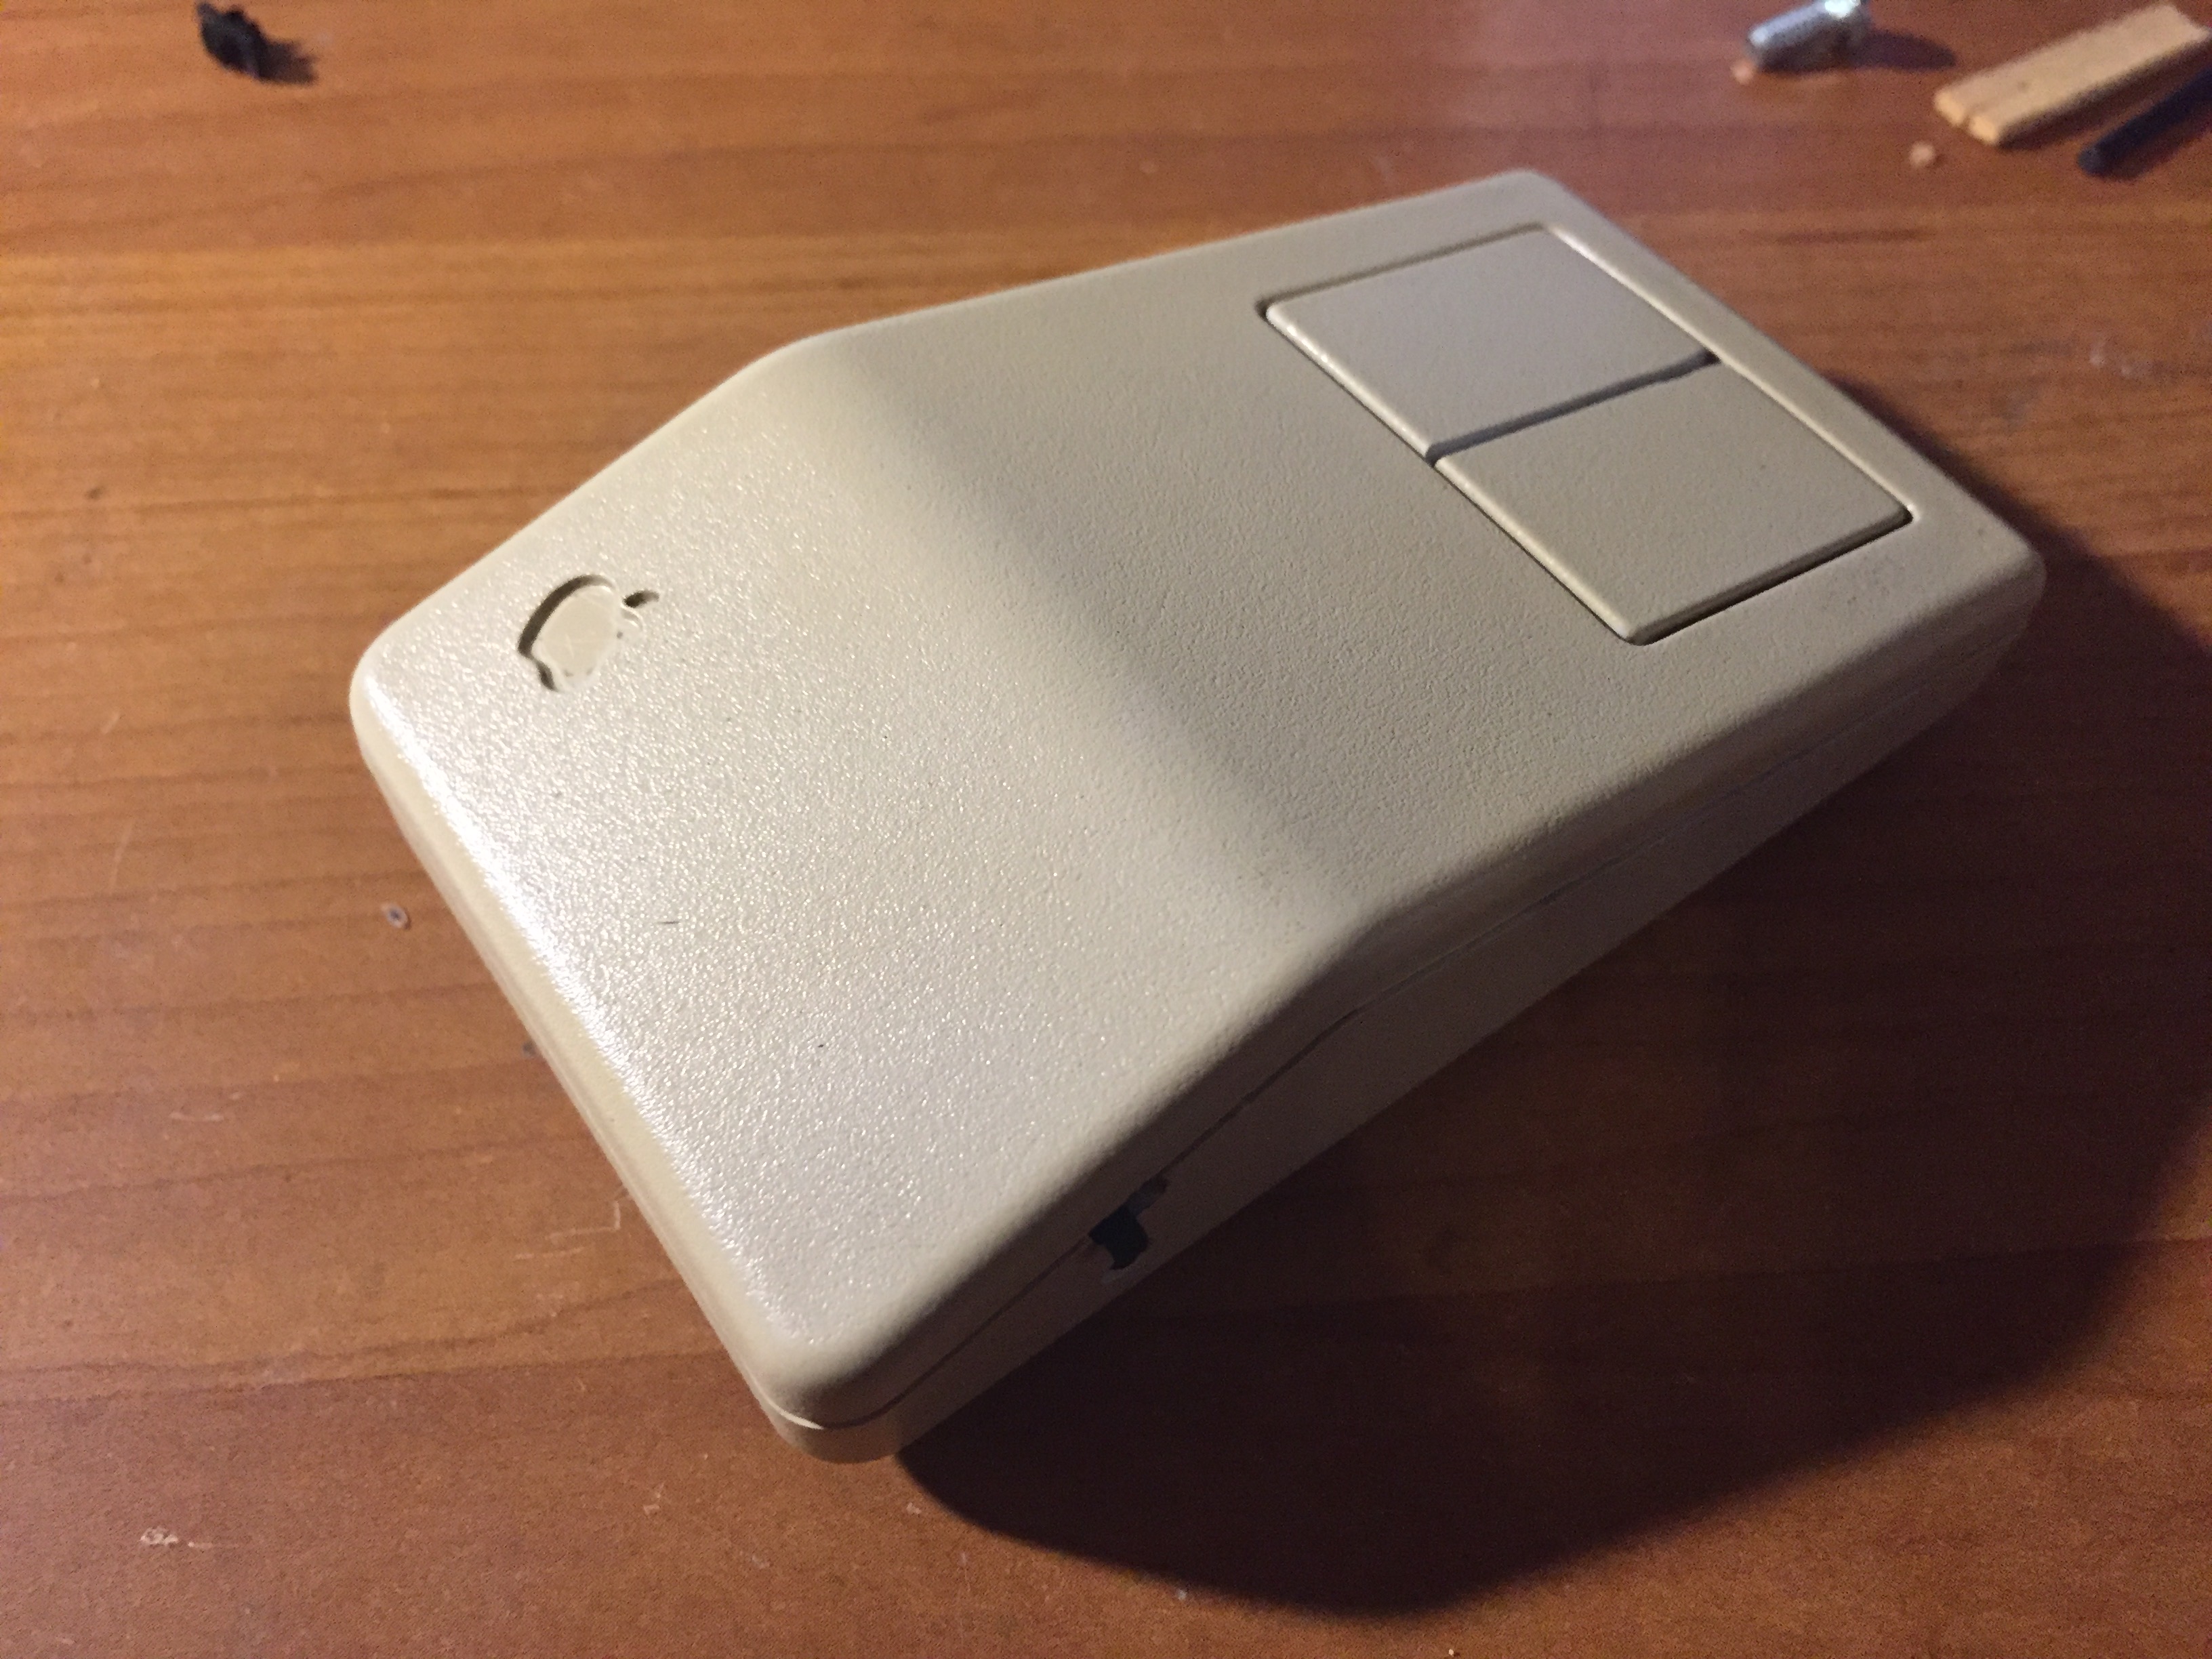
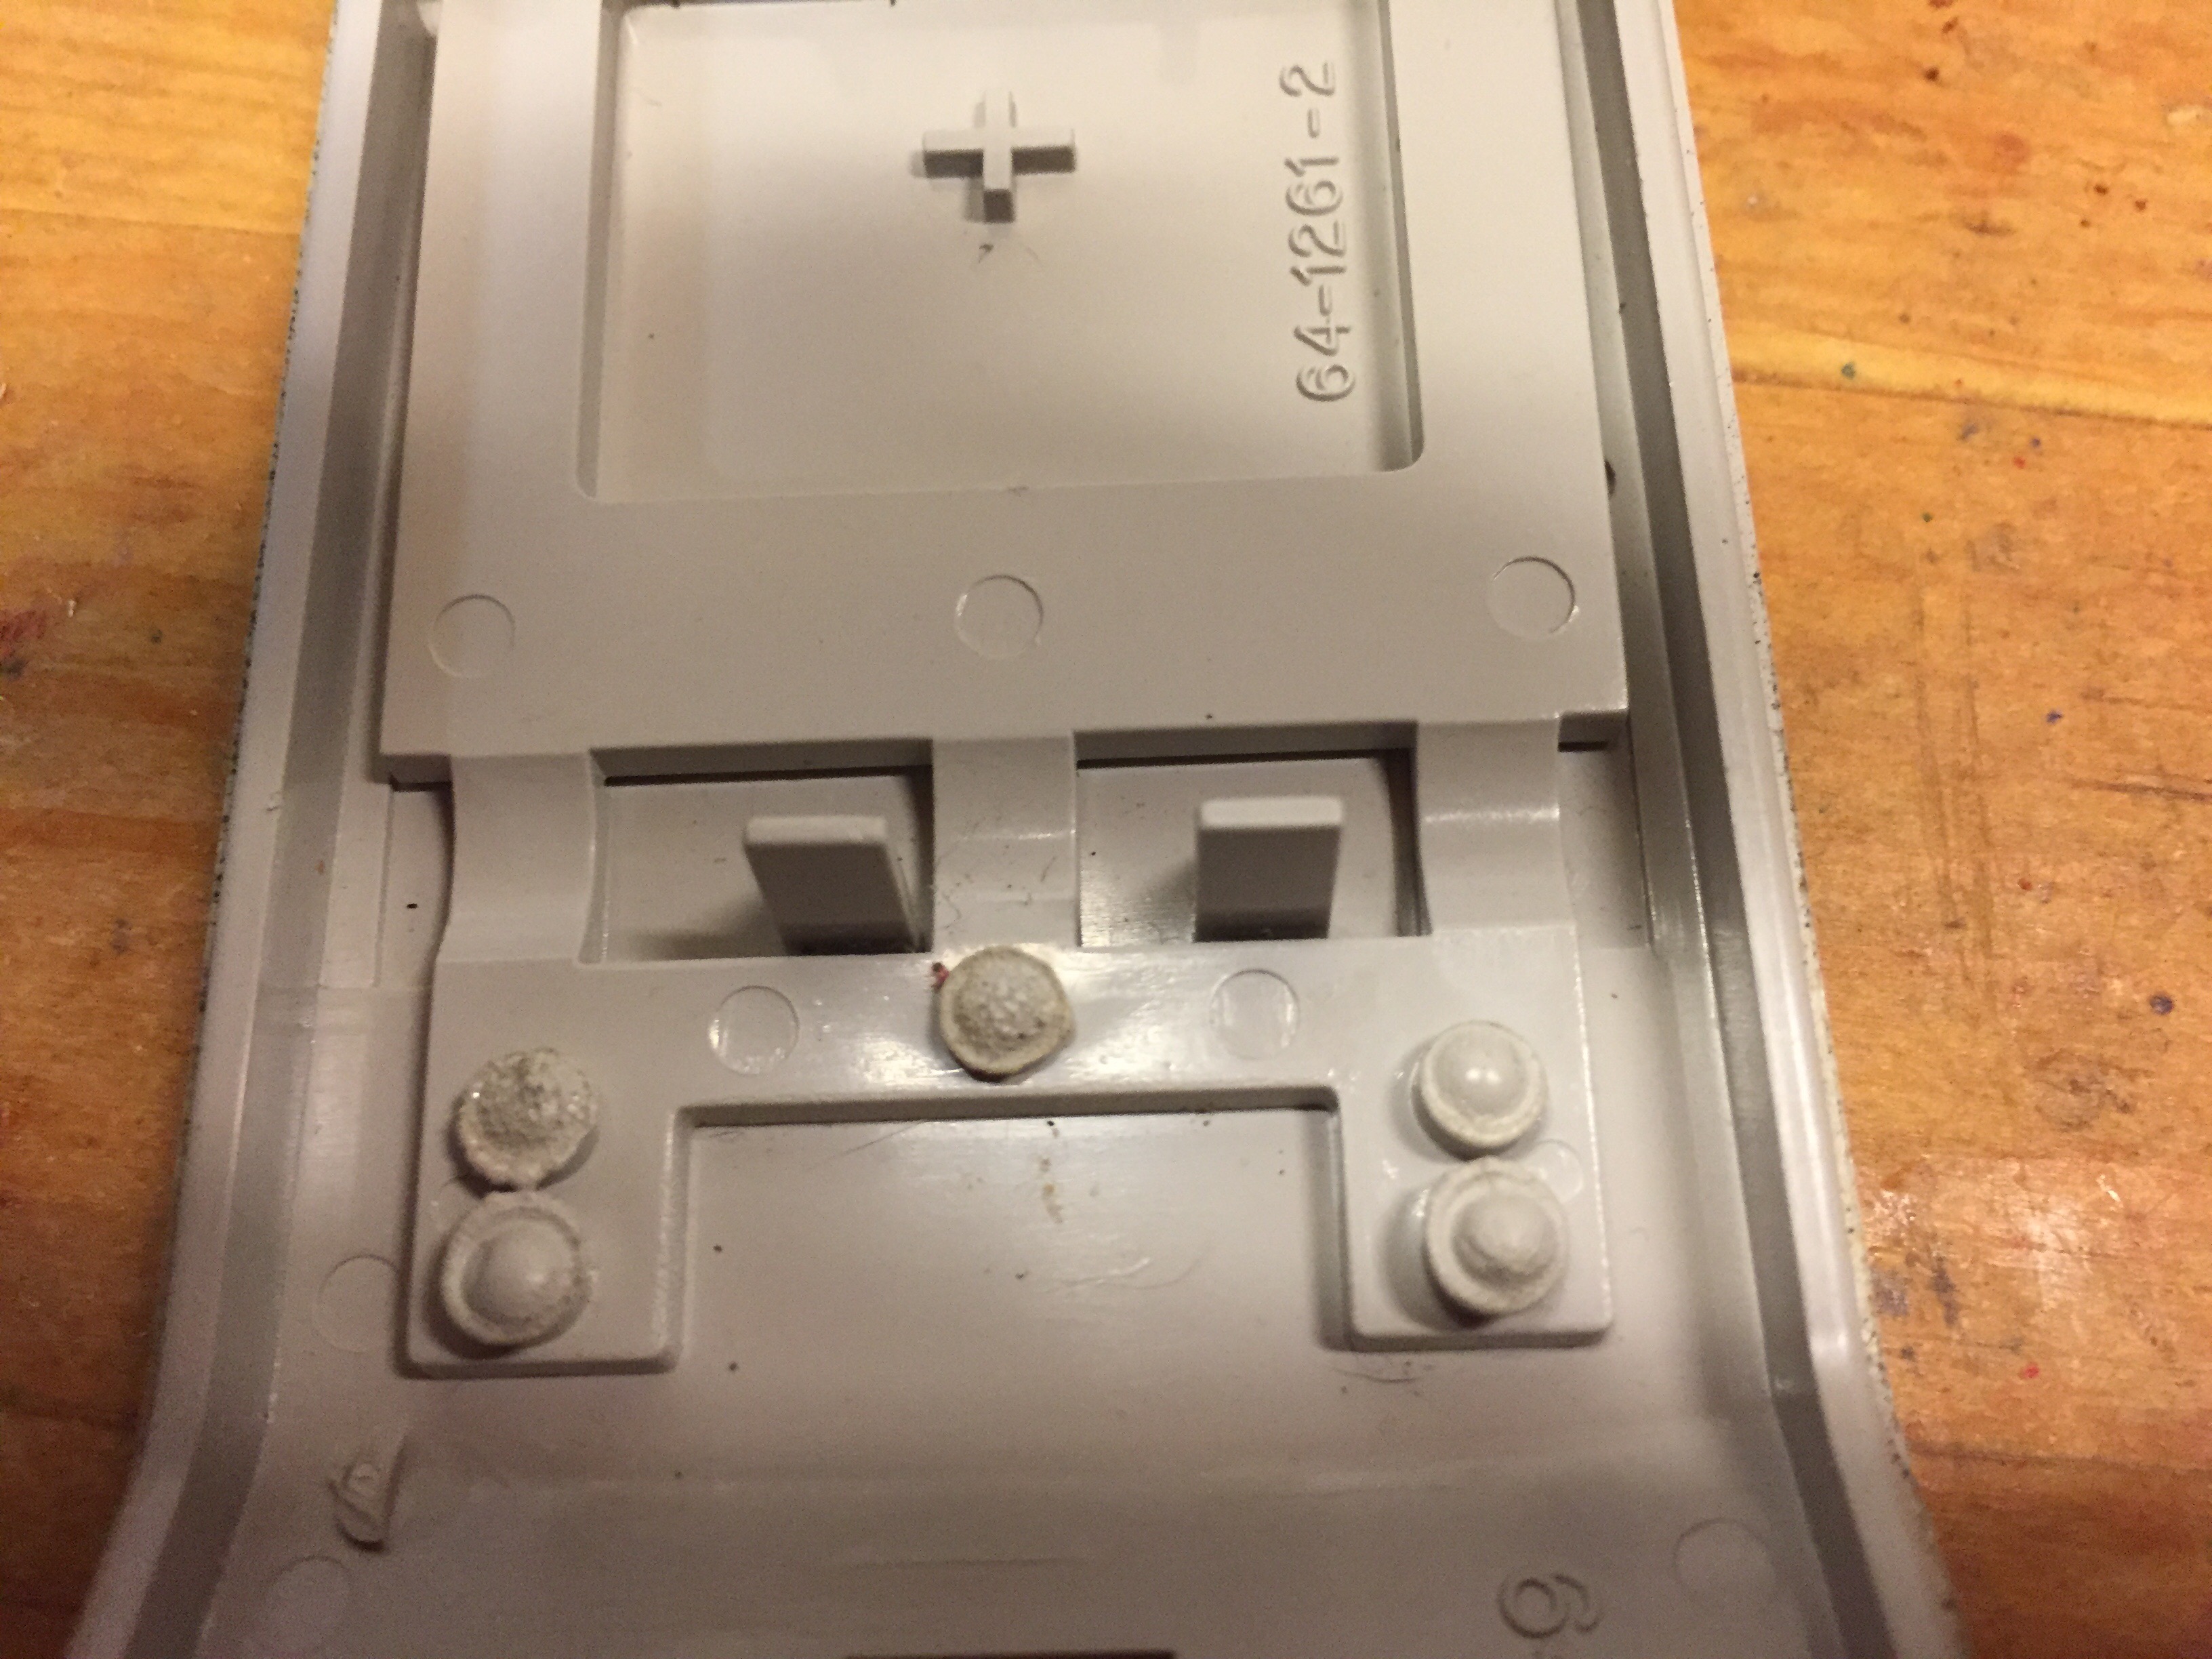
While looking through a pile of computer hardware I found an original Apple ADB mouse, the one that shipped with the Apple IIgs and several models of mac. It’s an extremely simple piece of hardware, with only a single button on top and a mechanical ball on the bottom. Interestingly, the cable on the mouse is very short, since it was designed to be daisy-chained with an ADB keyboard. My idea was to transplant the internals from a cheap bluetooth mouse (one I have kept in my backpack for use at school) into the ADB mouse, making it into something I could use daily. I needed to add several things to the hardware:
- Two buttons on top
- A scroll wheel that also clicks
- a power switch and pair button
- An internal battery, since I couldn’t find any way to make a door for AAAs, plus a way of charging it
- optionally, a button for activating Siri on my laptop so I can recreate that scene from Star Trek IV
Day 1: The Mouse Buttons
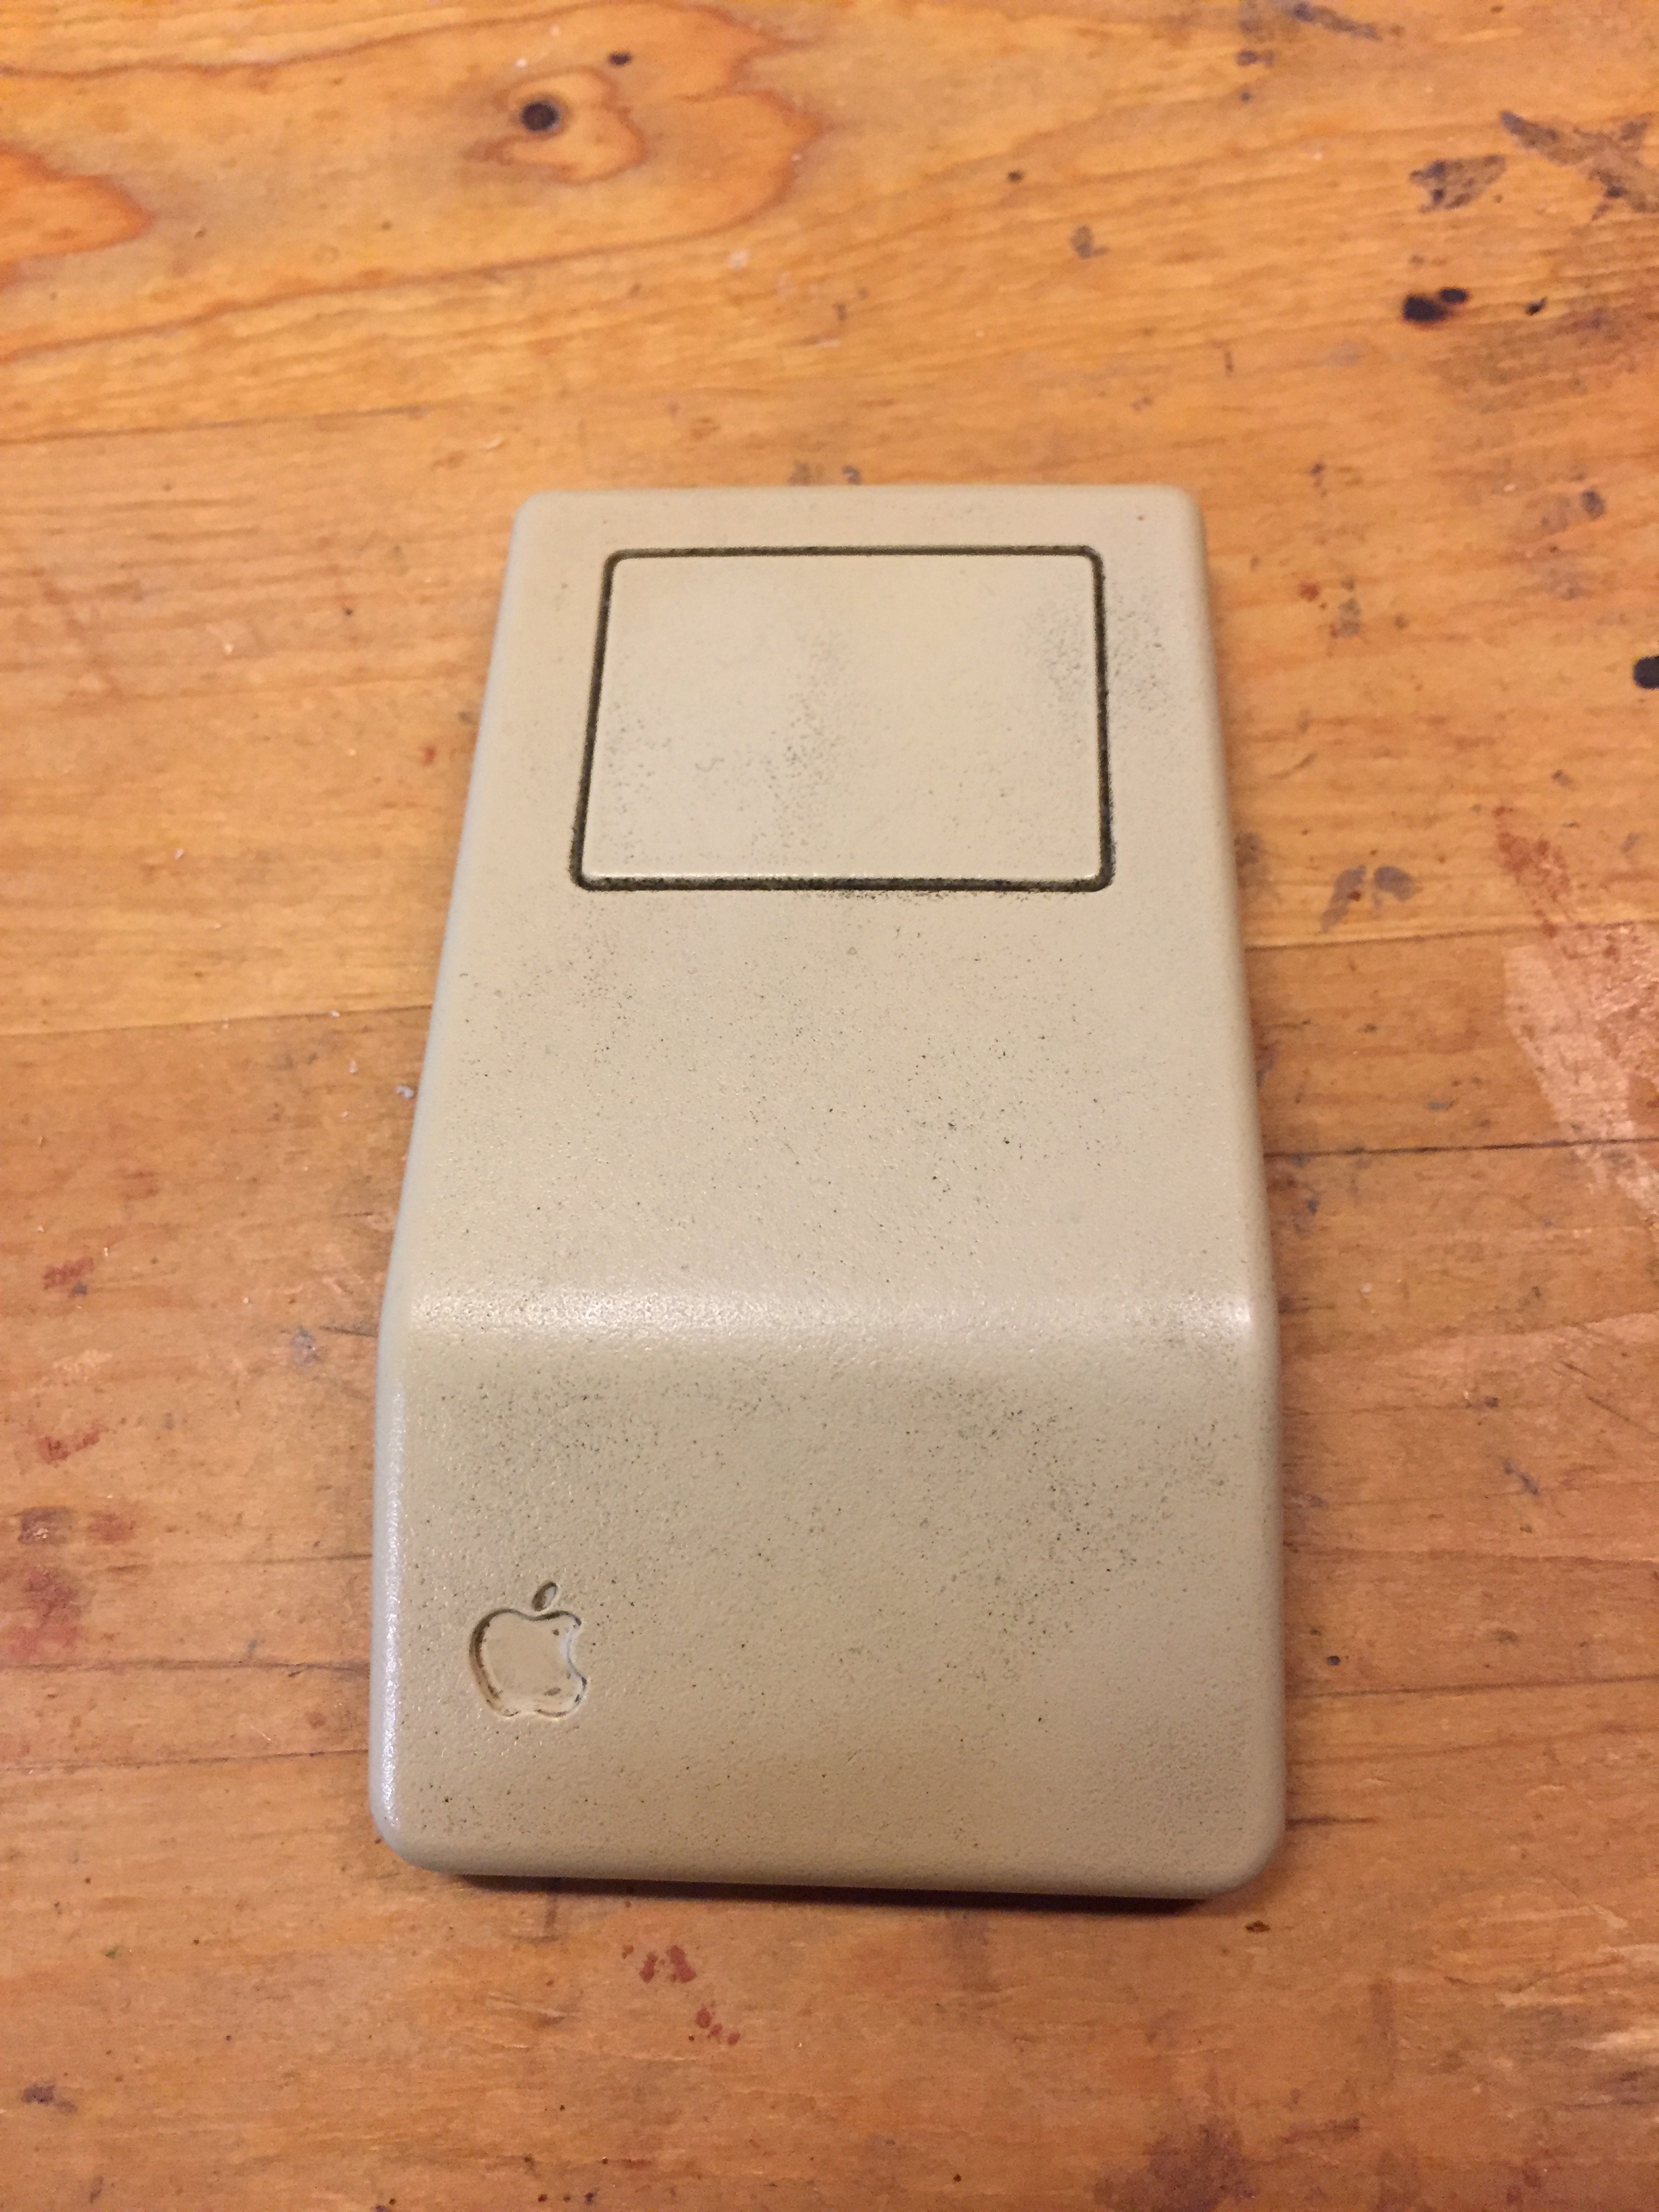
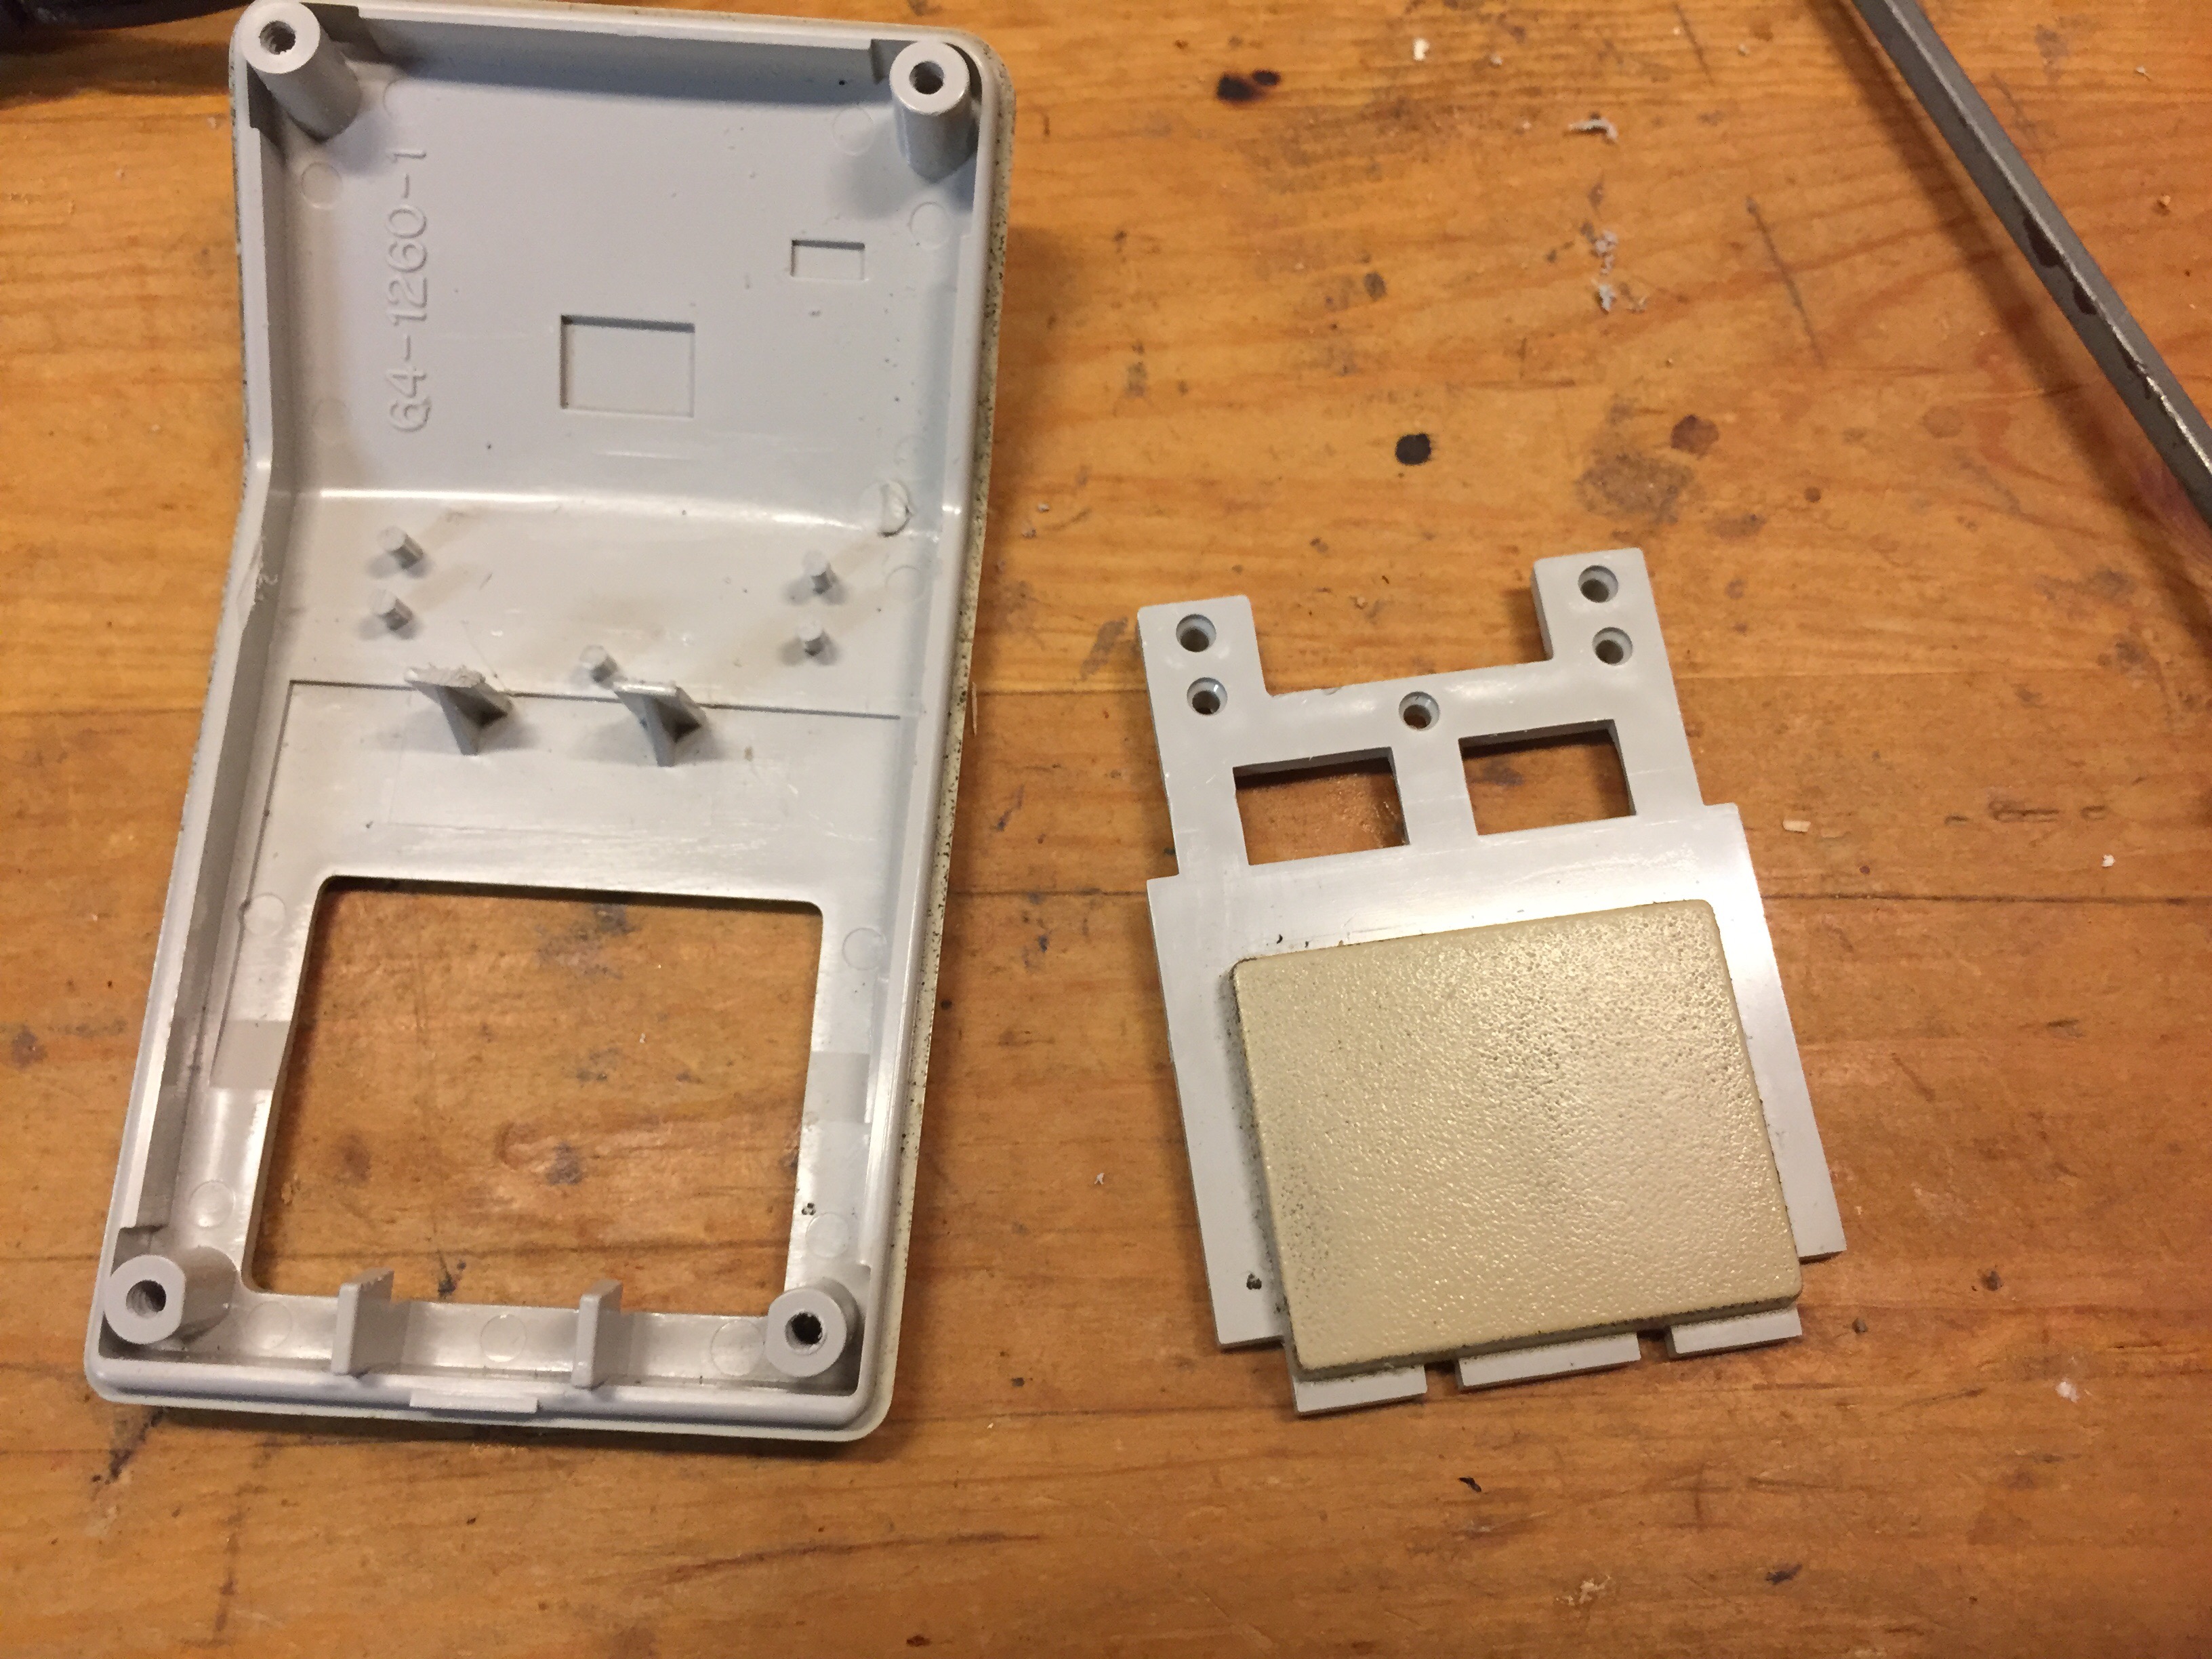
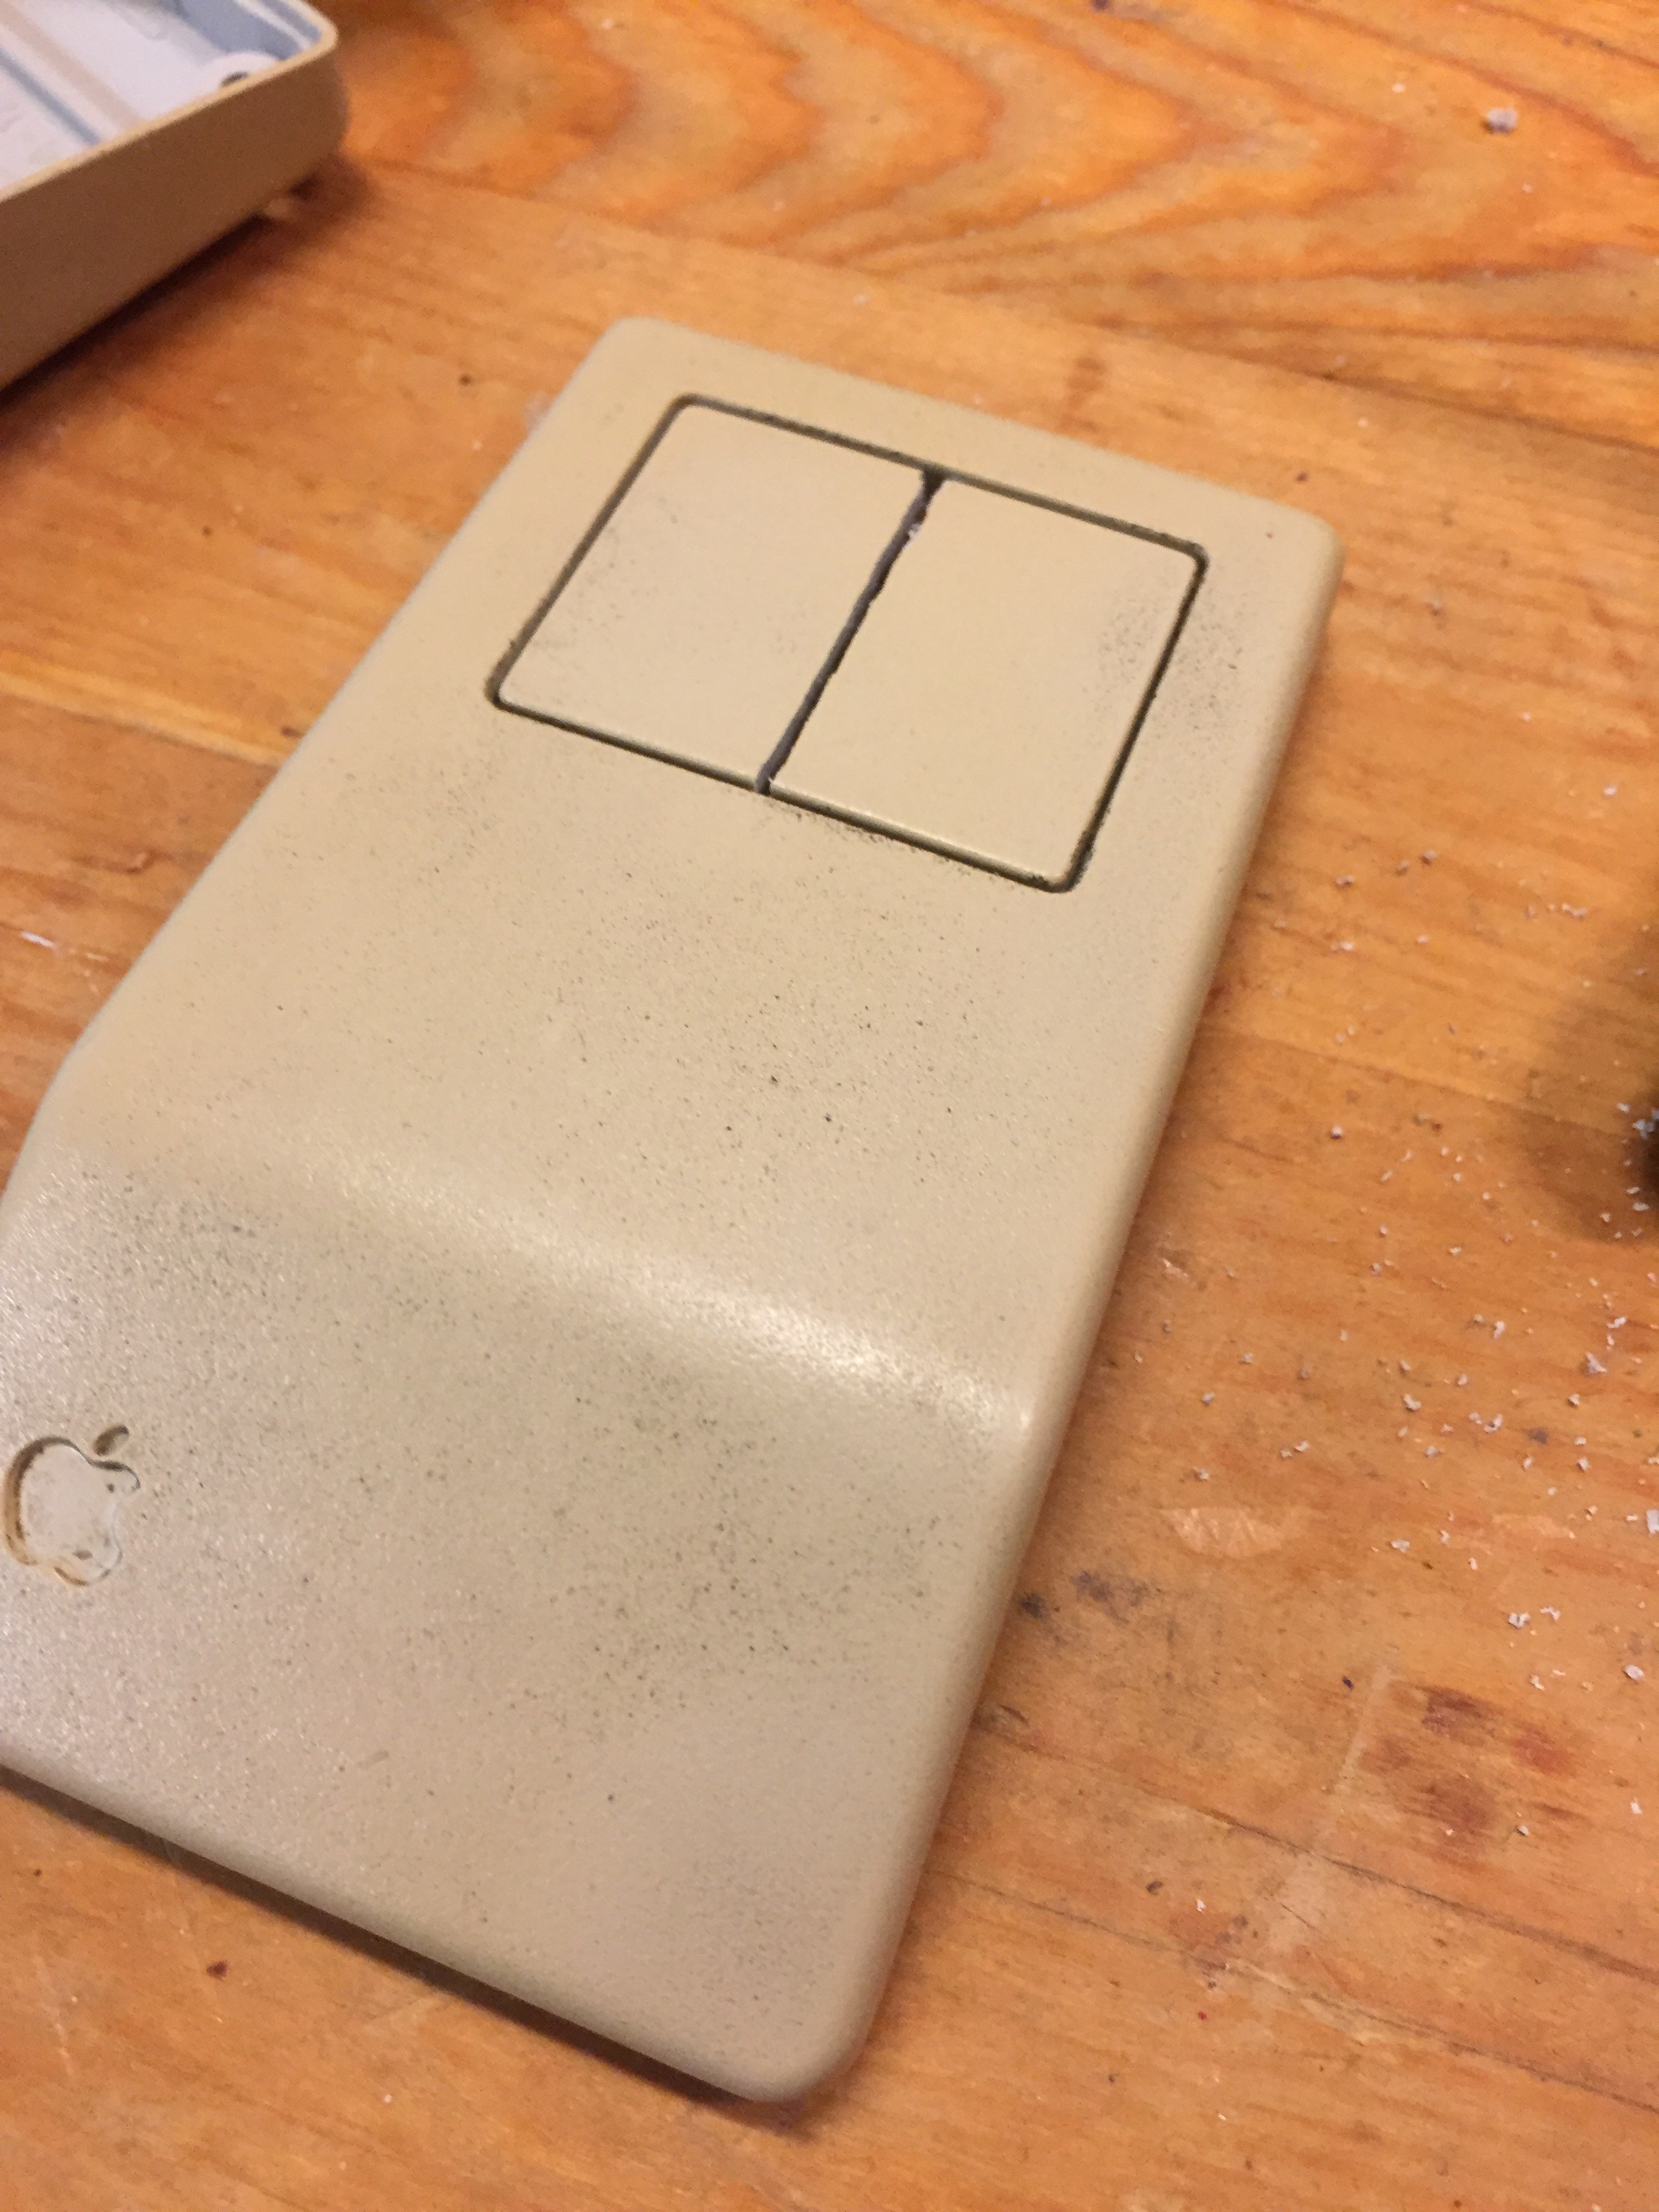
The first step was to split the existing single button into two. After grinding off the plastic welding on the pins holding the button in, I used a hacksaw guided by a block of wood to saw the button in half all the way down to the center part of the hinge. After sanding I think the cut looked pretty good! Something like a laser, or a better suited saw would probably have gotten a cleaner cut, but I was happy with this
Day 2: The Board
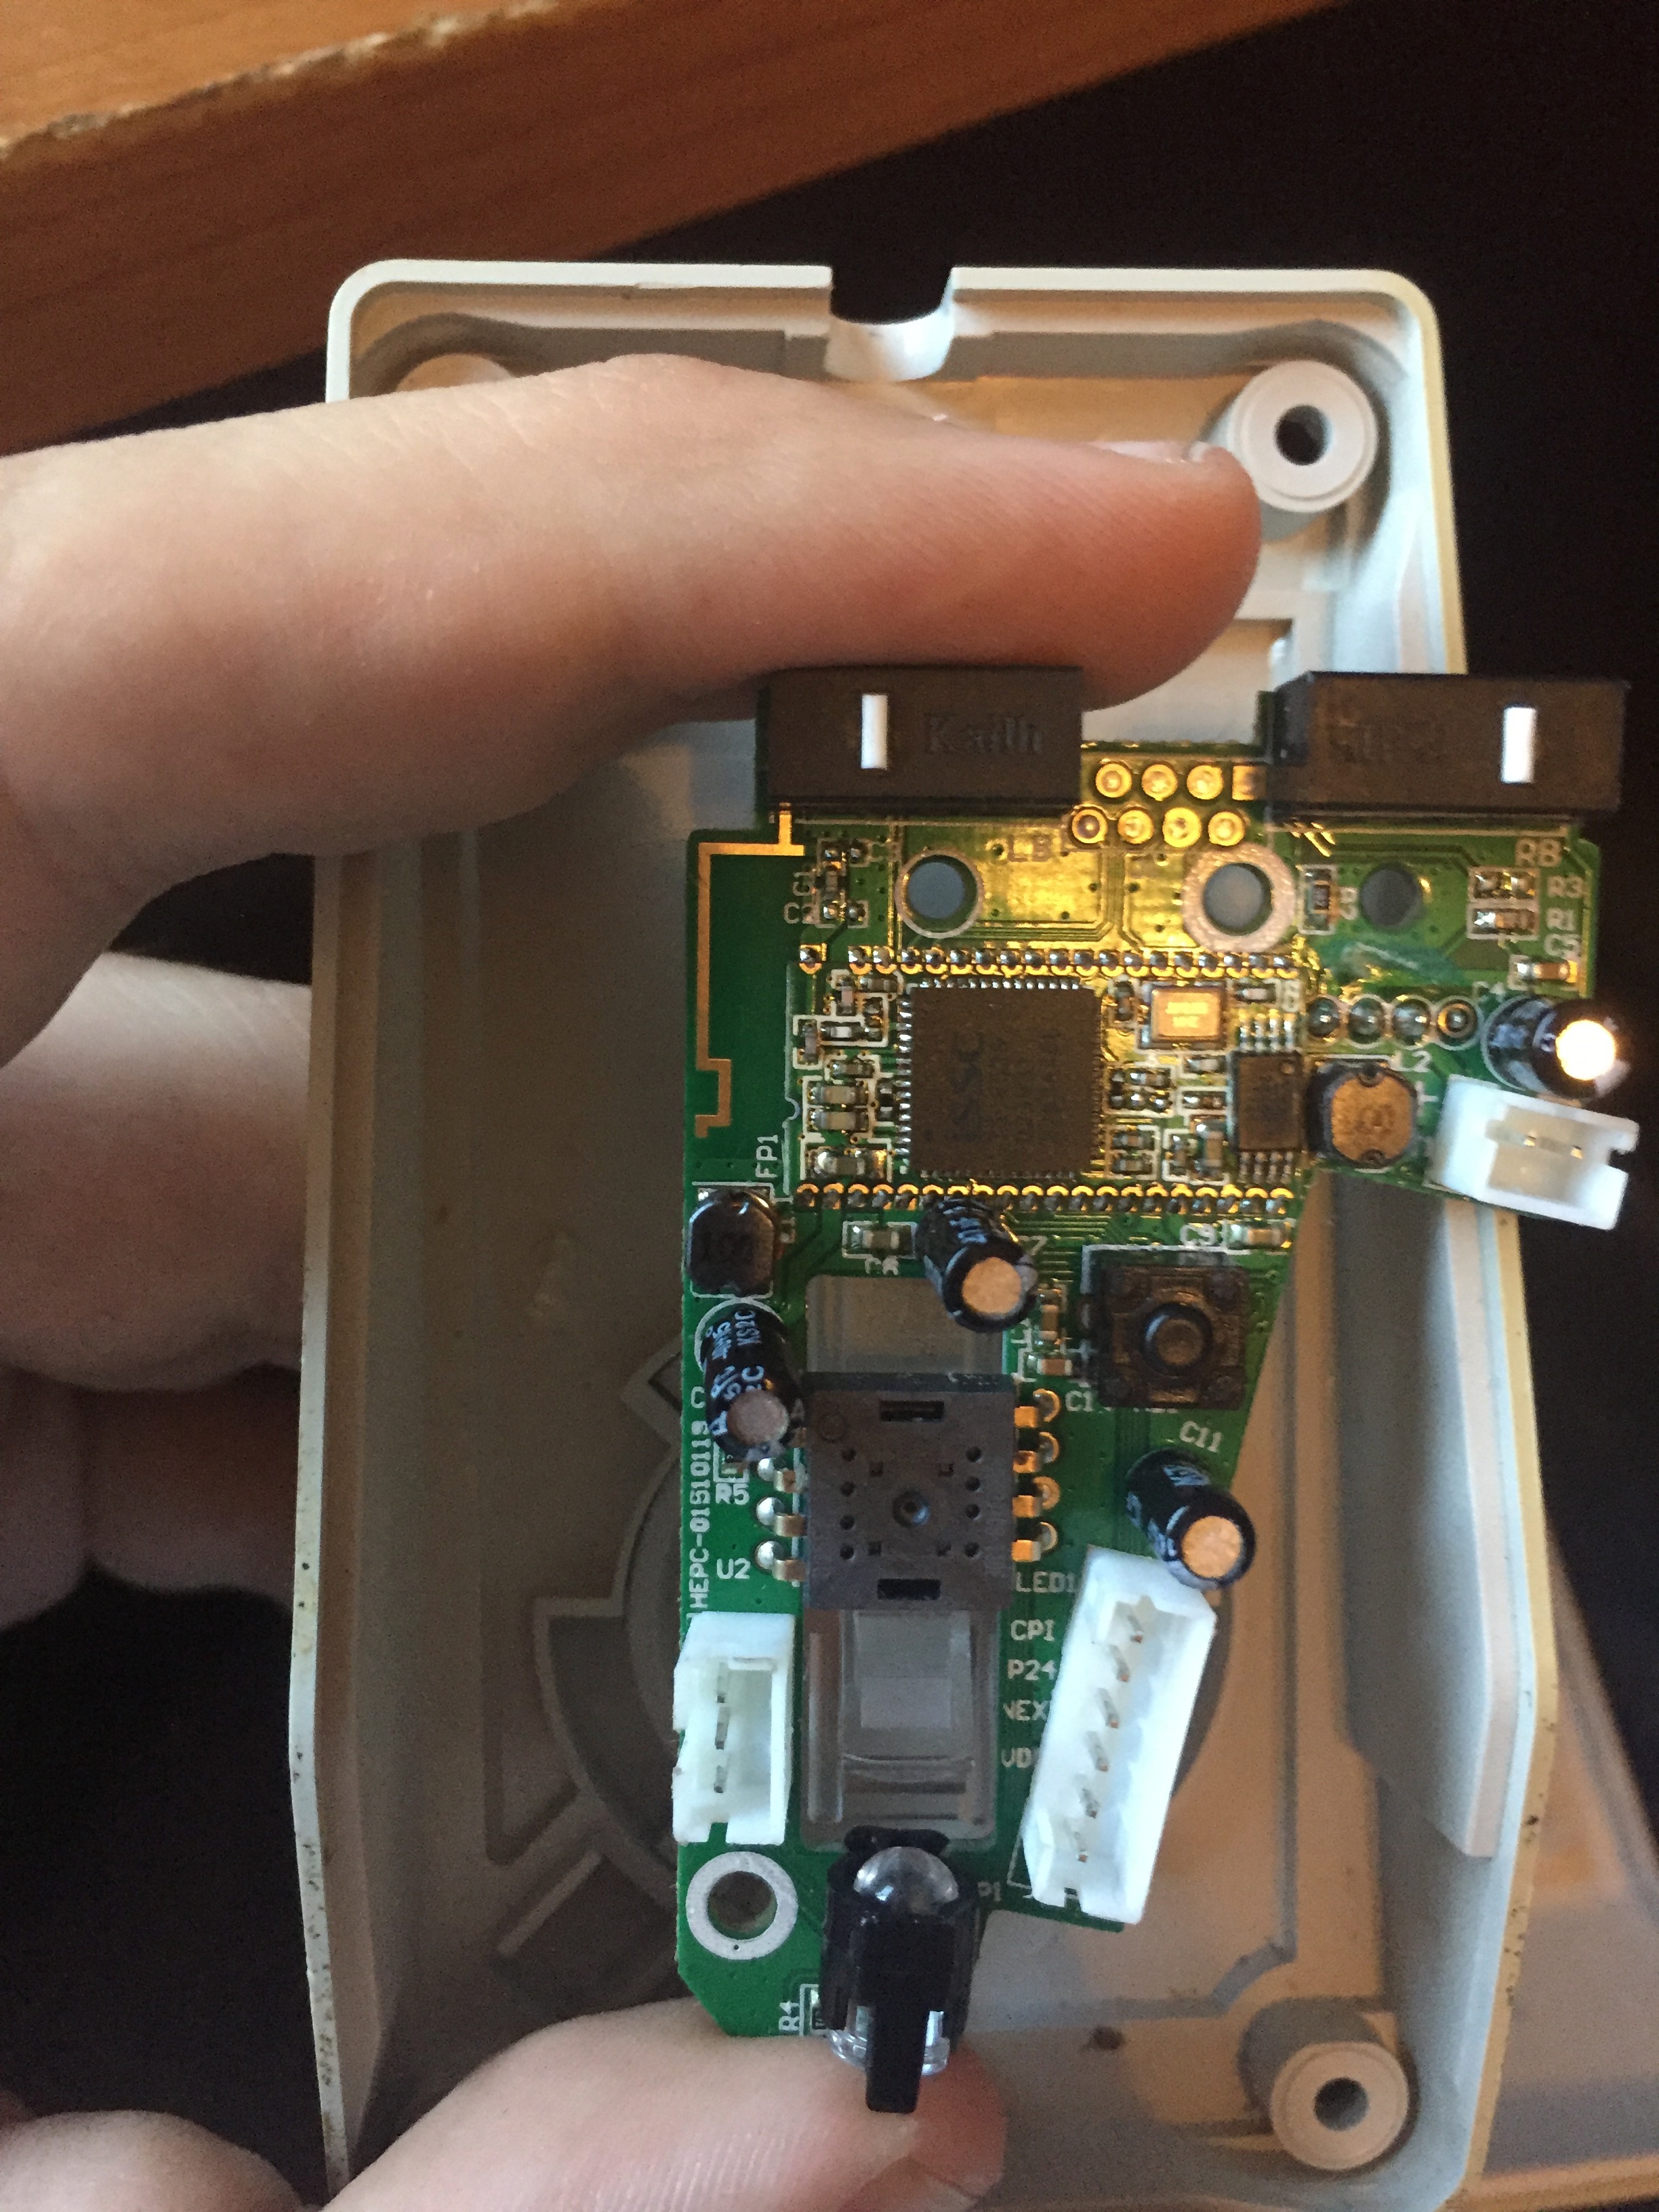
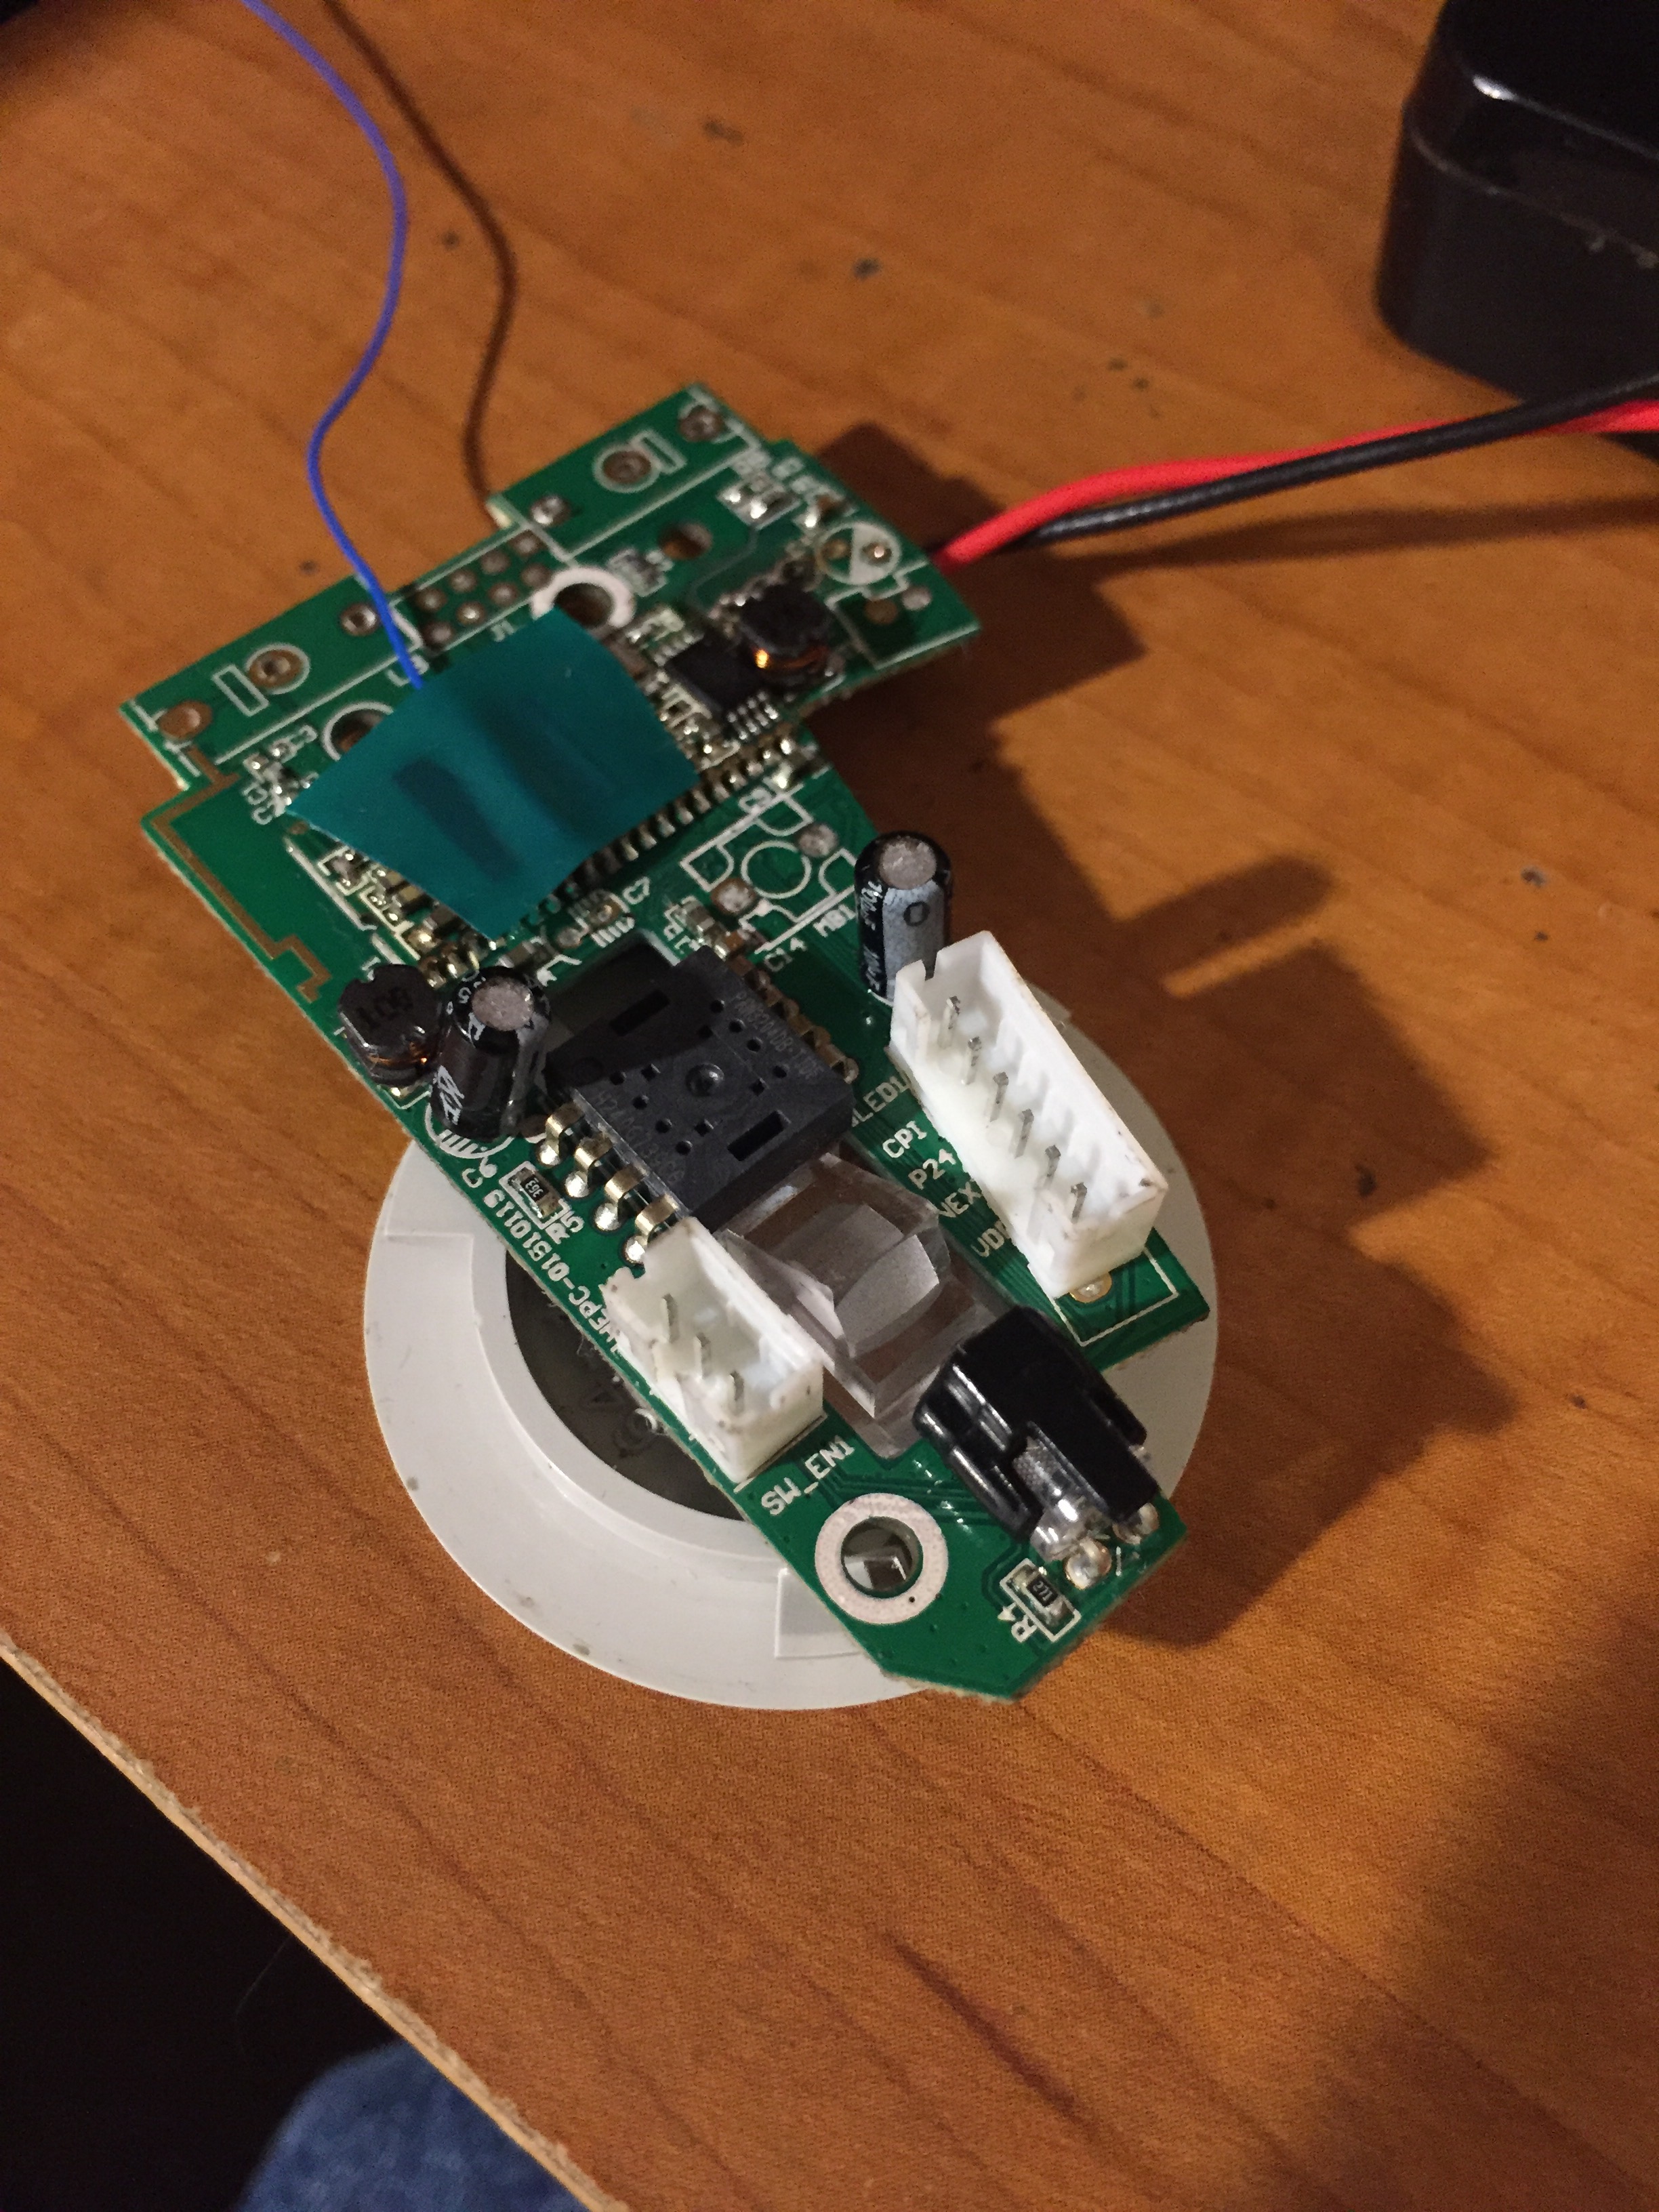
Since I wanted the optical sensor to peer through where the ball went, I needed it to be centered, but the bluetooth mouse’s board was slightly too wide to do this. Luckily the only thing on that part was the right mouse button, which I had to move anyways, and the connector for the batteries, which I was already replacing with a Lithium battery.
I unfortunately had to scrape away some of the solder mask from the underside of the board to solder on a wire for the power connection, since all the plated holes were on the cutoff part (I couldn’t trace it to any of the pins on the sensor, I suspect there was some voltage conversioning happening). I also had to solder a piece of 30AWG wire directly to the surface mounted bluetooth module for right click, since that trace went all the way around the outside edge of the board.
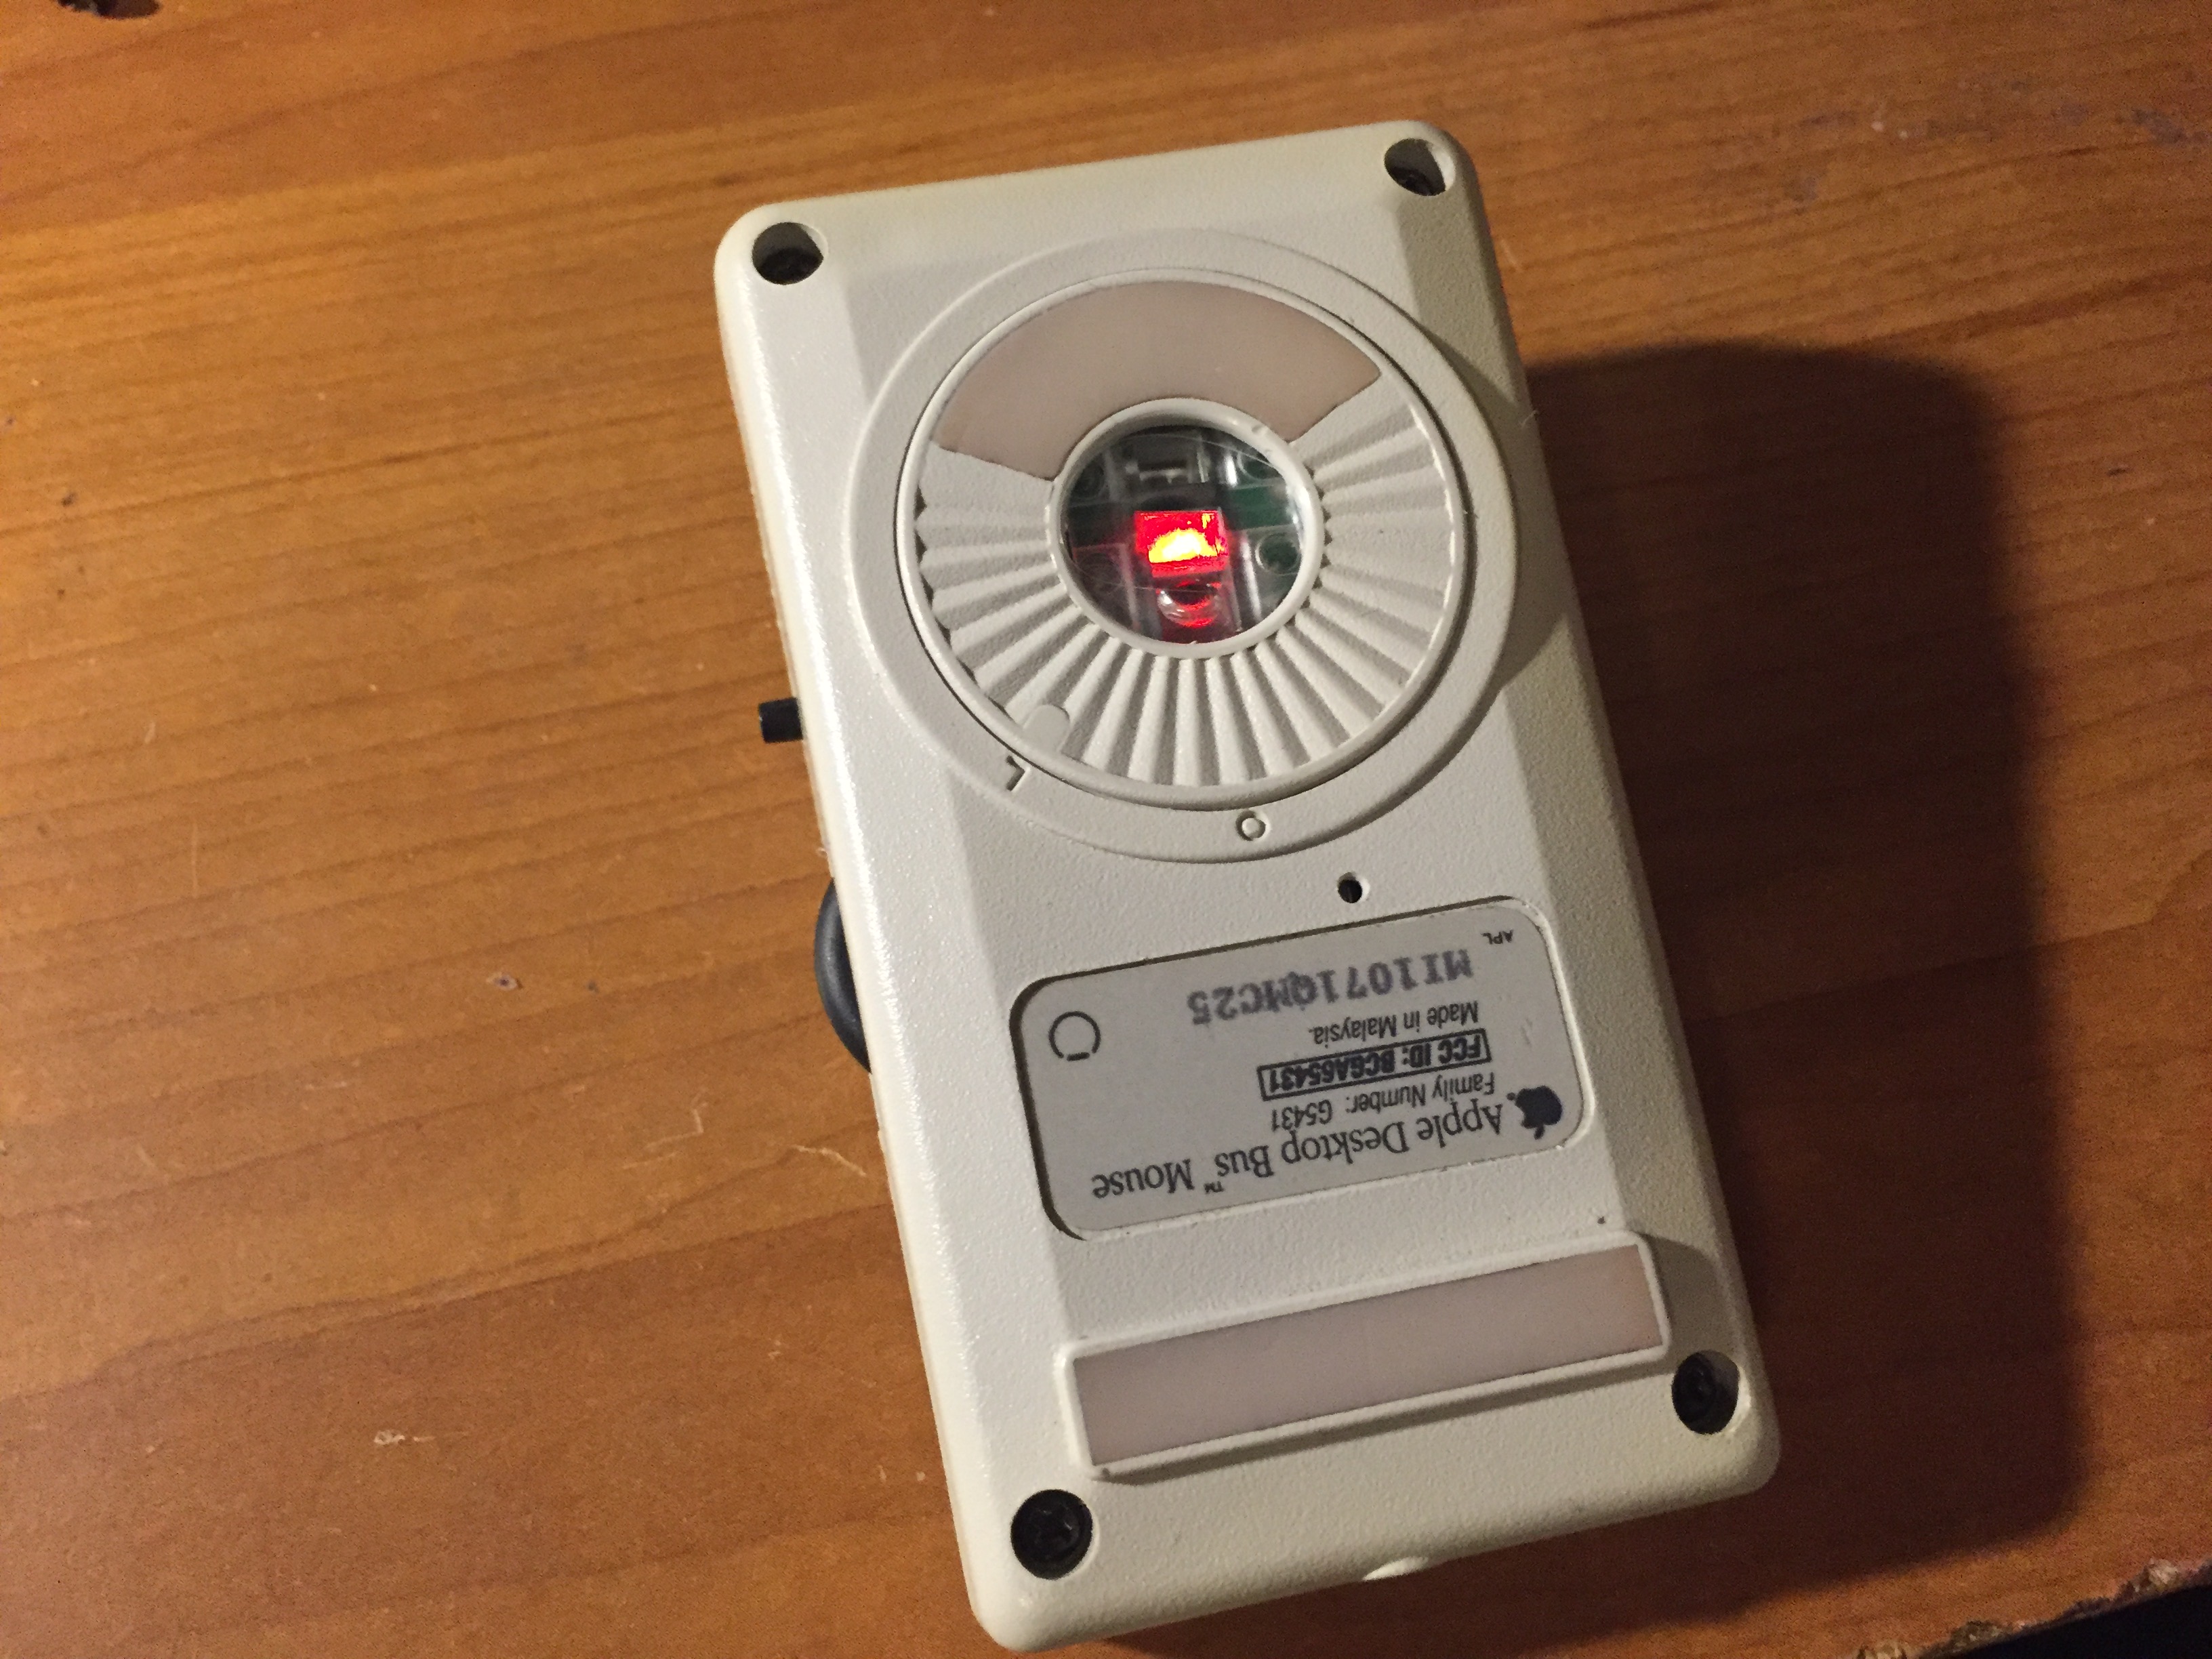
I also cut down the plastic lens to fit inside the ball door of the original mouse. miraculously the distance between the sensor and the desk was exactly the same as the thickness of the ball hatch.
Day 3: Assembly
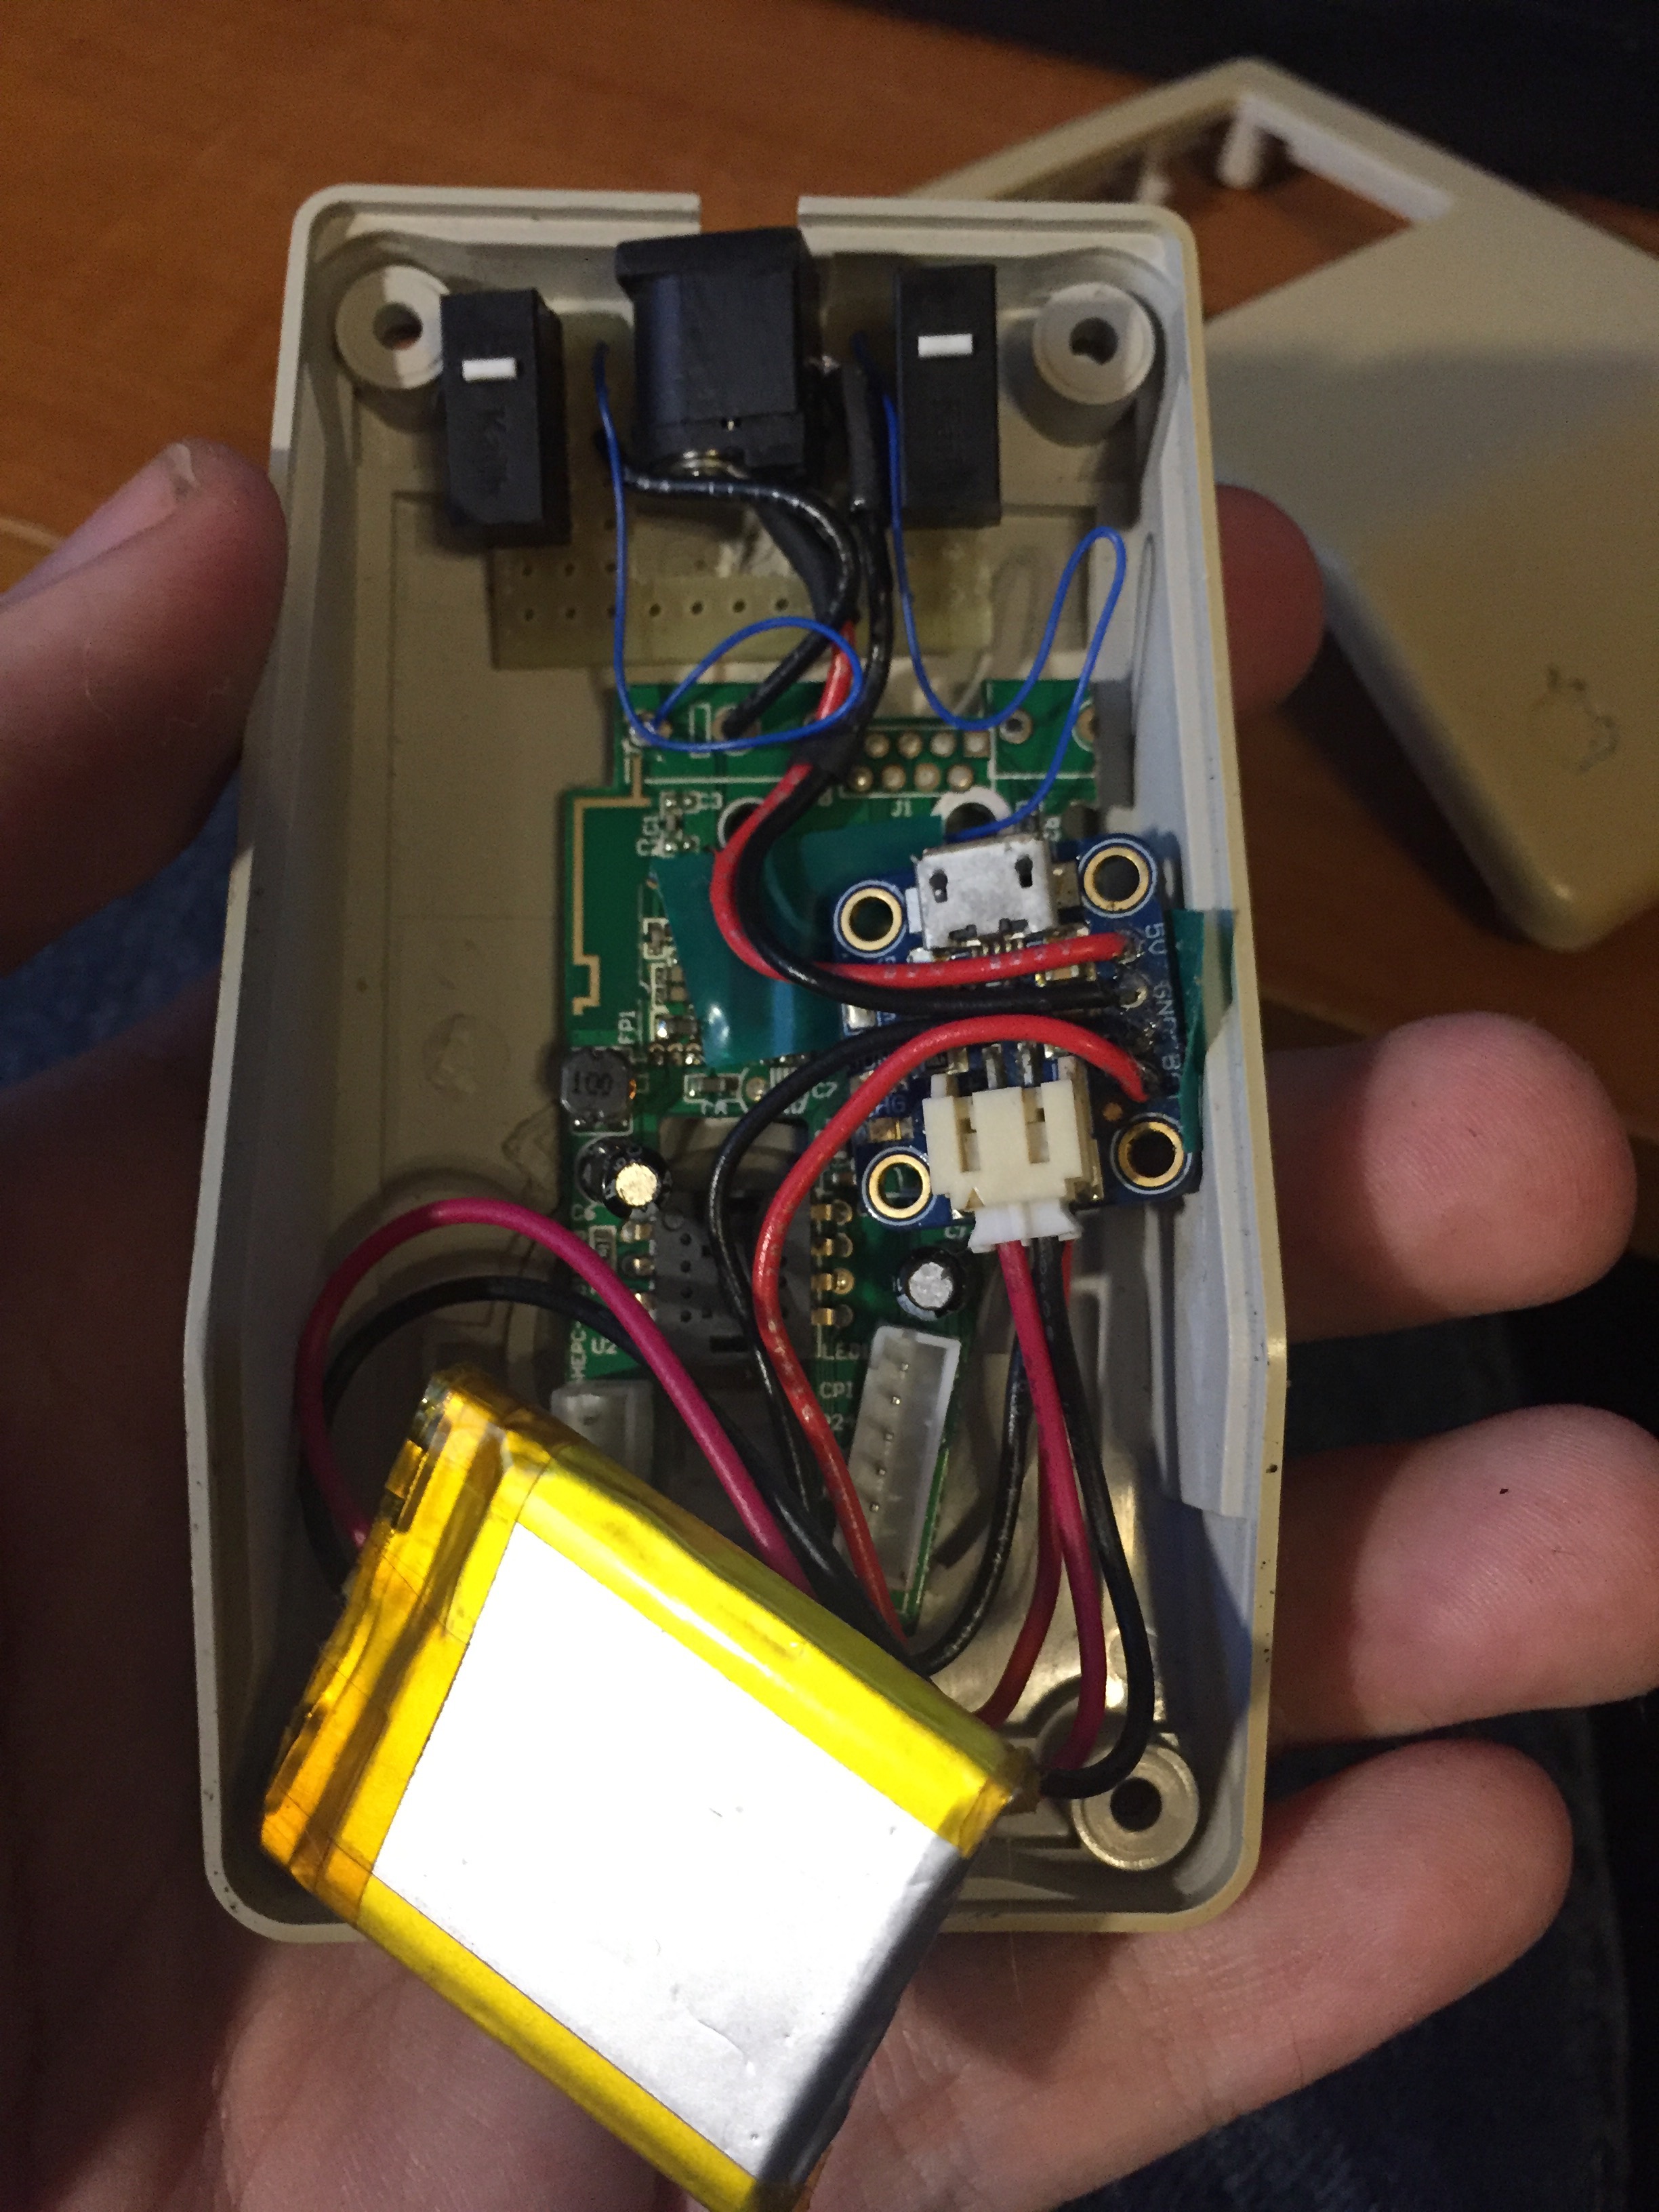
The final major component of the mouse were the left and right click buttons. I used some strip-board cut into a C-shape to accommodate the charging port in the center, which had its middle pin (shorted to ground while disconnected) soldered to it for mechanical support. This was connected to the 5V input on the charging module, as well as to the button and common pins of the logic board. Once I had cleaned up the wiring I had a somewhat useful bluetooth mouse (only clicking required pressing the microswitches directly)
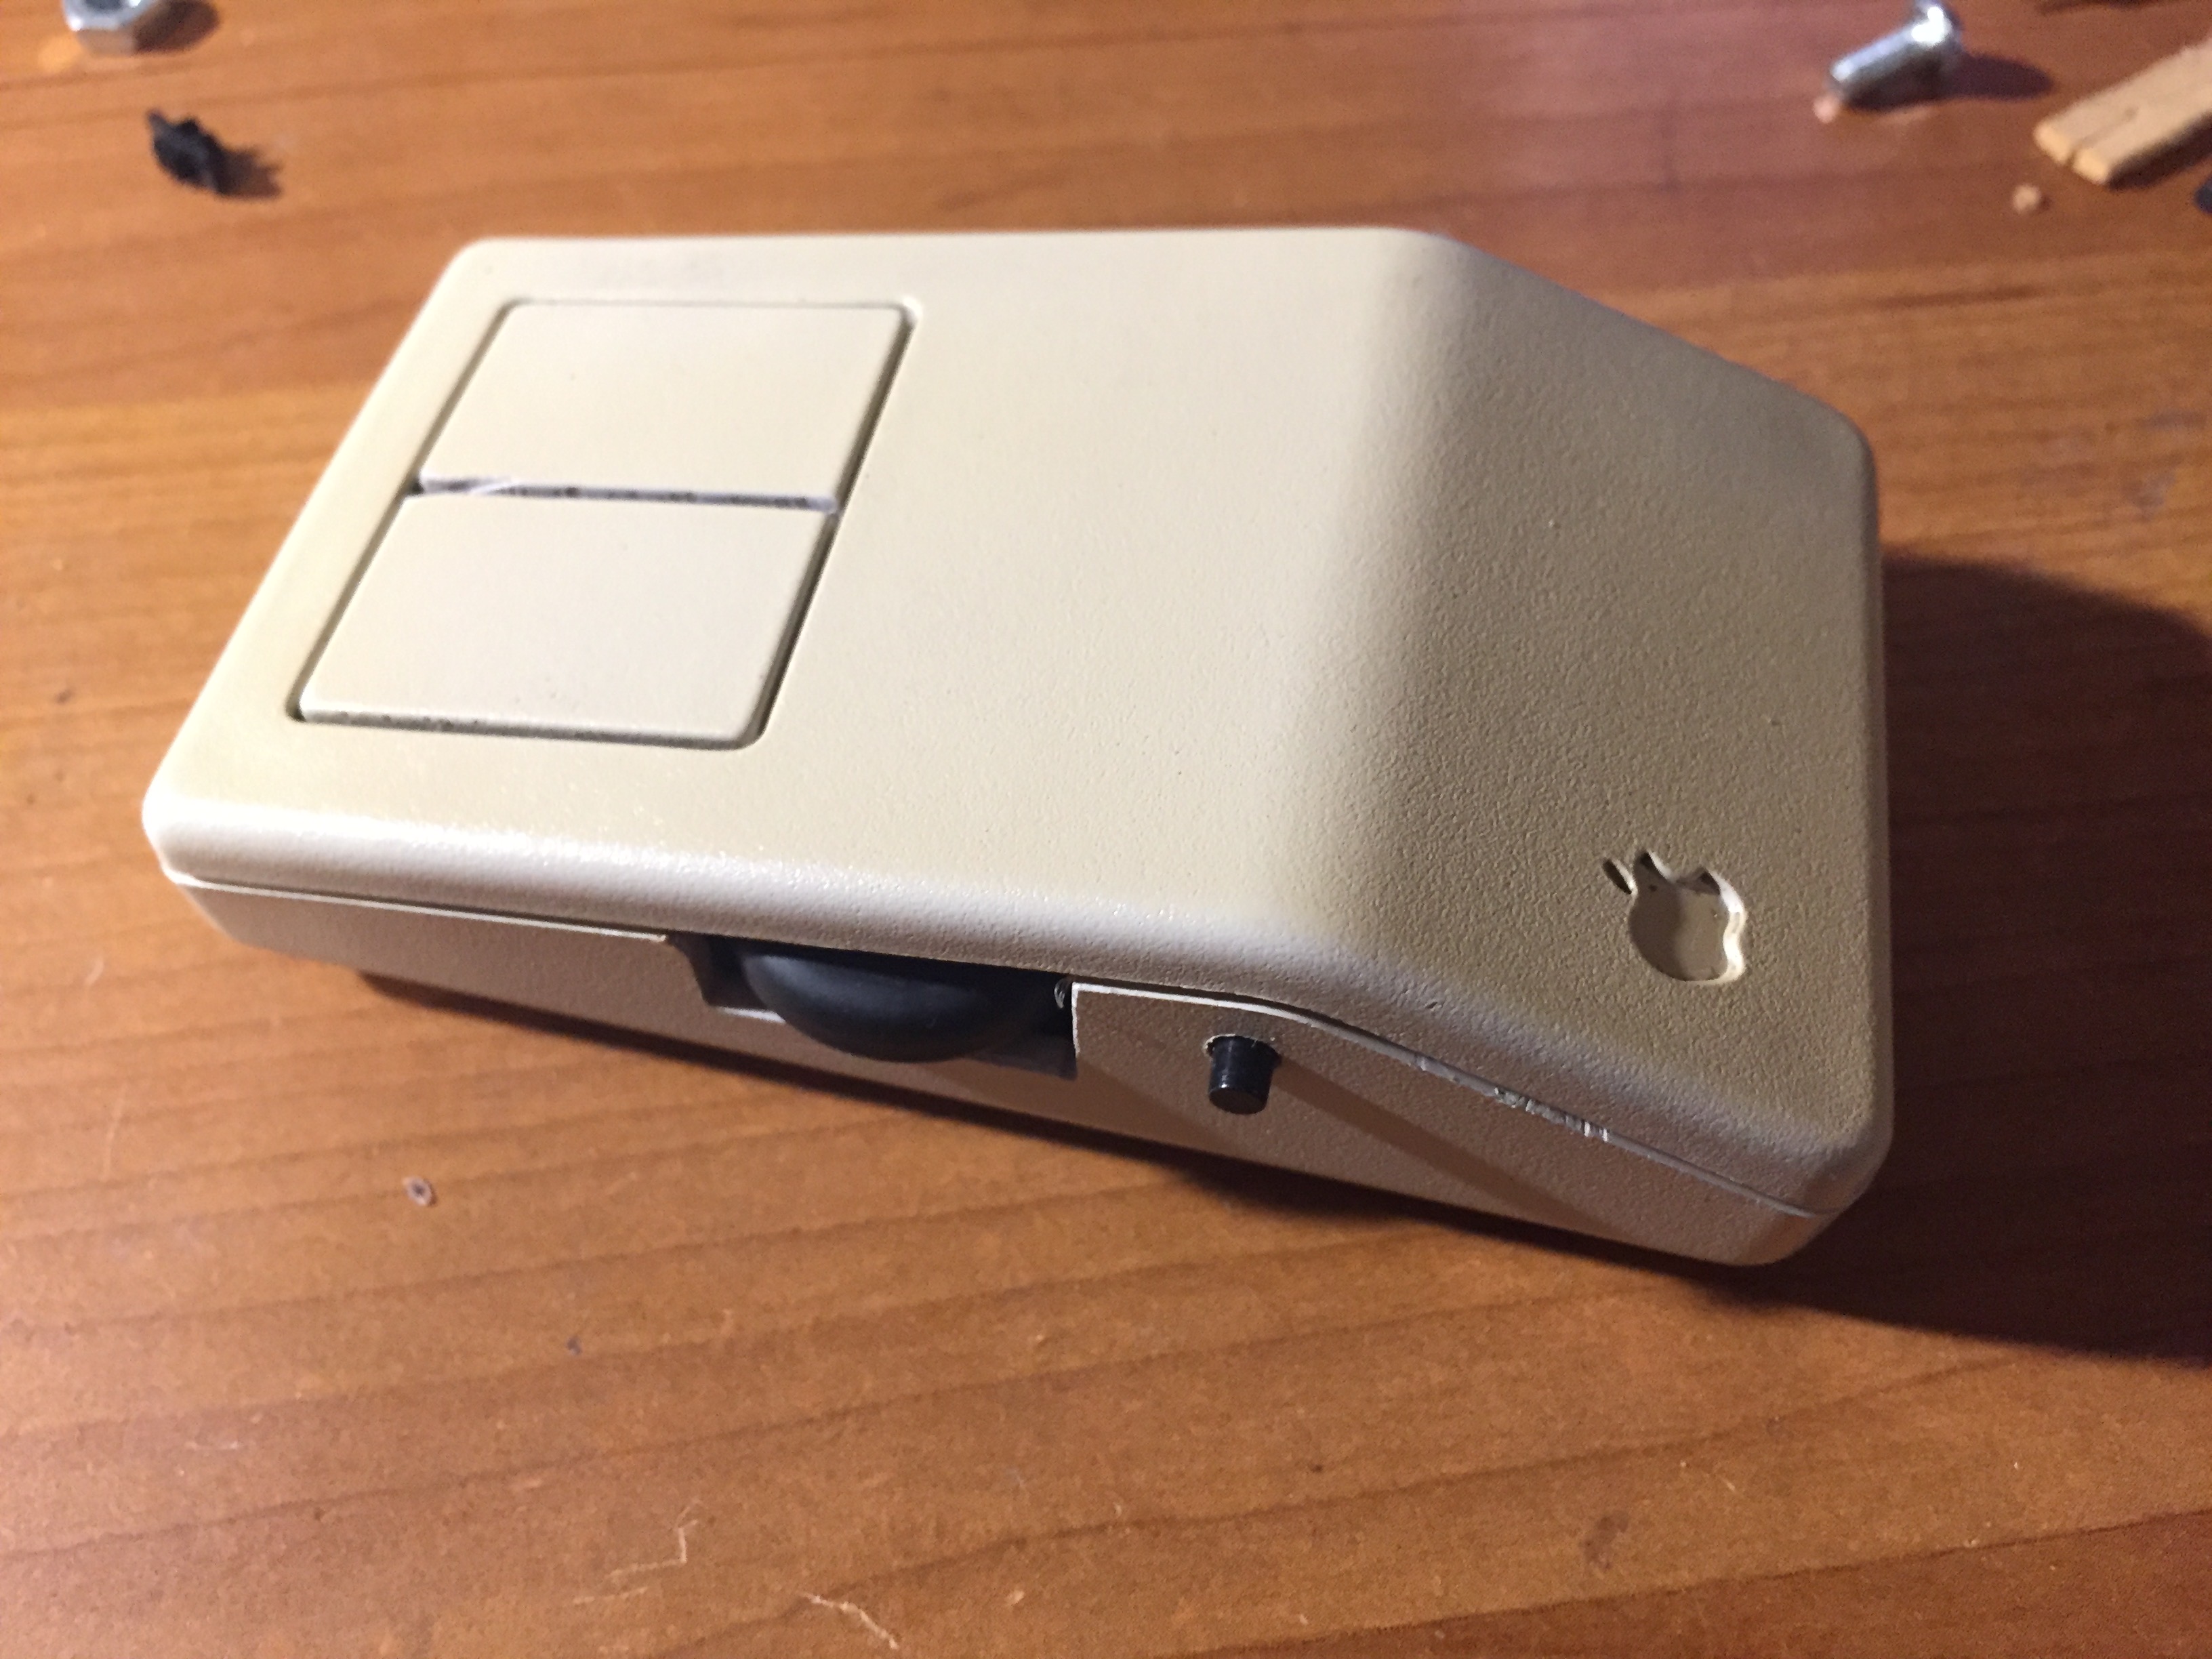
Next came the part of the project I was putting off: the scroll wheel. there isnt enough room for the scroll wheel to go between the click buttons, both vertically due to the charge port placement and because the buttons were small enough already. I decided to cut a slot in the side for a mouse wheel to fit that would be operated with the thumb, with a separate button for the middle mouse click (I decided the mechanism for a clicking scroll wheel was too complicated. I also cut a hole for the status LED and a power switch, which I had accidentally neglected before

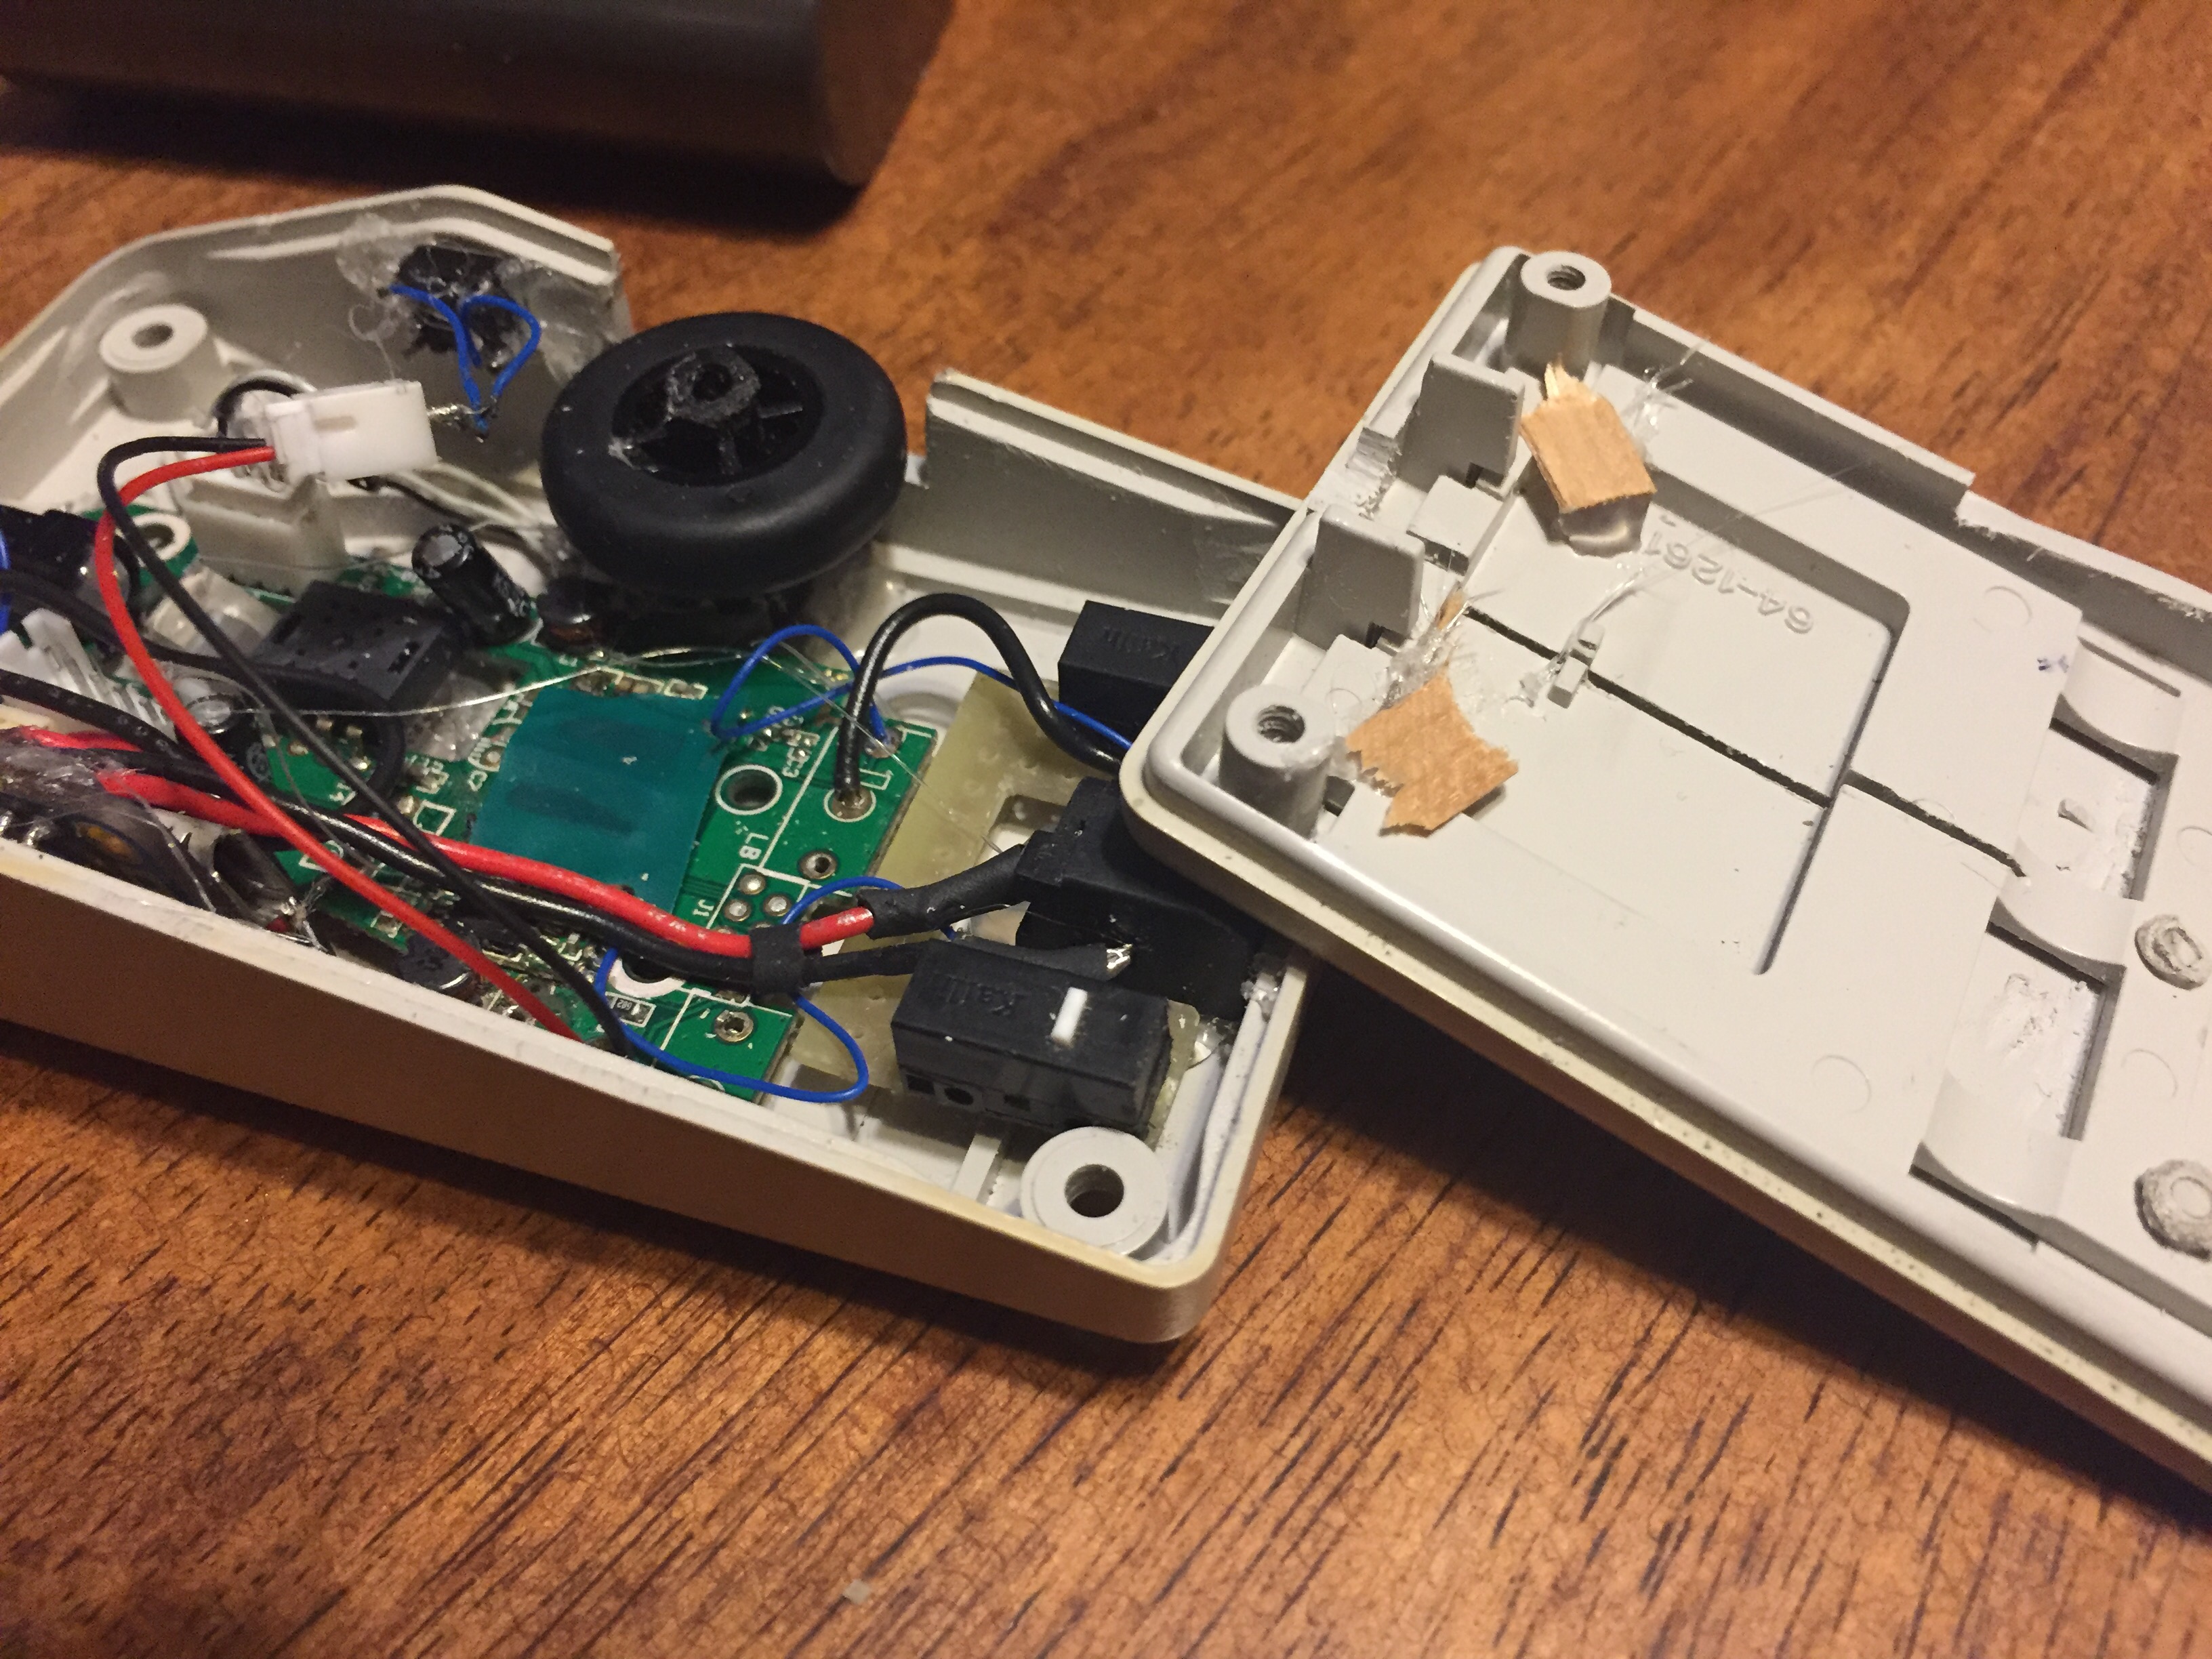
After this, I did the final assembly by glueing each part in using hot glue, since hot glue can easily be removed by peeling it off or heating with a soldering iron if necessary. I needed to shim the mouse buttons with a bit of wood so they would hit the microswitches correctly (I’ll likely print some nicer looking shims later). I think the final result looks pretty good, and the modifications don’t look to out of place compared to the original apple hardware. If I were to repeat the project I think I would have taken greater care with cutting the case, and perhaps found a way to make a scroll wheel that matches the shade of beige used at the time. The plastic is yellowed, but I think I like it like that, it adds a bit of authenticity.